Jenkins Master-Slave🔌🖥️

✅Introduction🤖
Jenkins Master’s job is to handle:
Scheduling build jobs.
Dispatching builds to the slaves for the actual execution.
Monitor the slaves (possibly taking them online and offline as required).
Recording and presenting the build results.
A Master instance of Jenkins can also execute build jobs directly.ion
characteristics of Jenkins Slaves:
It hears requests from the Jenkins Master instance.
Slaves can run on a variety of operating systems.
The job of a Slave is to do as they are told to, which involves executing build jobs dispatched by the Master.
You can configure a project to always run on a particular Slave machine or a particular type of Slave machine, or simply let Jenkins pick the next available Slave.
✅Create an agent by setting up a node on Jenkins. Create a new AWS EC2 Instance and connect it to master(Where Jenkins is installed). The connection of master and agent requires SSH and the public-private key pair exchange. Verify its status under "Nodes" section.🎯🎮
I have made two AWS EC2 instances i.e. jenkins-server(master node) and jenkins-agent(slave node/agent node). Install Jenkins and the required dependencies in the jenkins-server.
steps to install jenkins:
1.install java:
sudo apt update
sudo apt install openjdk-17-jre
java -version
2.install Long Term Support release version of jenkins:
curl -fsSL https://pkg.jenkins.io/debian-stable/jenkins.io-2023.key | sudo tee \
  /usr/share/keyrings/jenkins-keyring.asc > /dev/null
echo deb [signed-by=/usr/share/keyrings/jenkins-keyring.asc] \
  https://pkg.jenkins.io/debian-stable binary/ | sudo tee \
  /etc/apt/sources.list.d/jenkins.list > /dev/null
sudo apt-get update
sudo apt-get install jenkins
3.enable the Jenkins service to start at boot with the command:
sudo systemctl enable jenkins
4.start the Jenkins service with the command:
sudo systemctl start jenkins
5.check the status of the Jenkins service using the command:
sudo systemctl status jenkins
For jenkins-agent instance follow the step-1 process to install java.
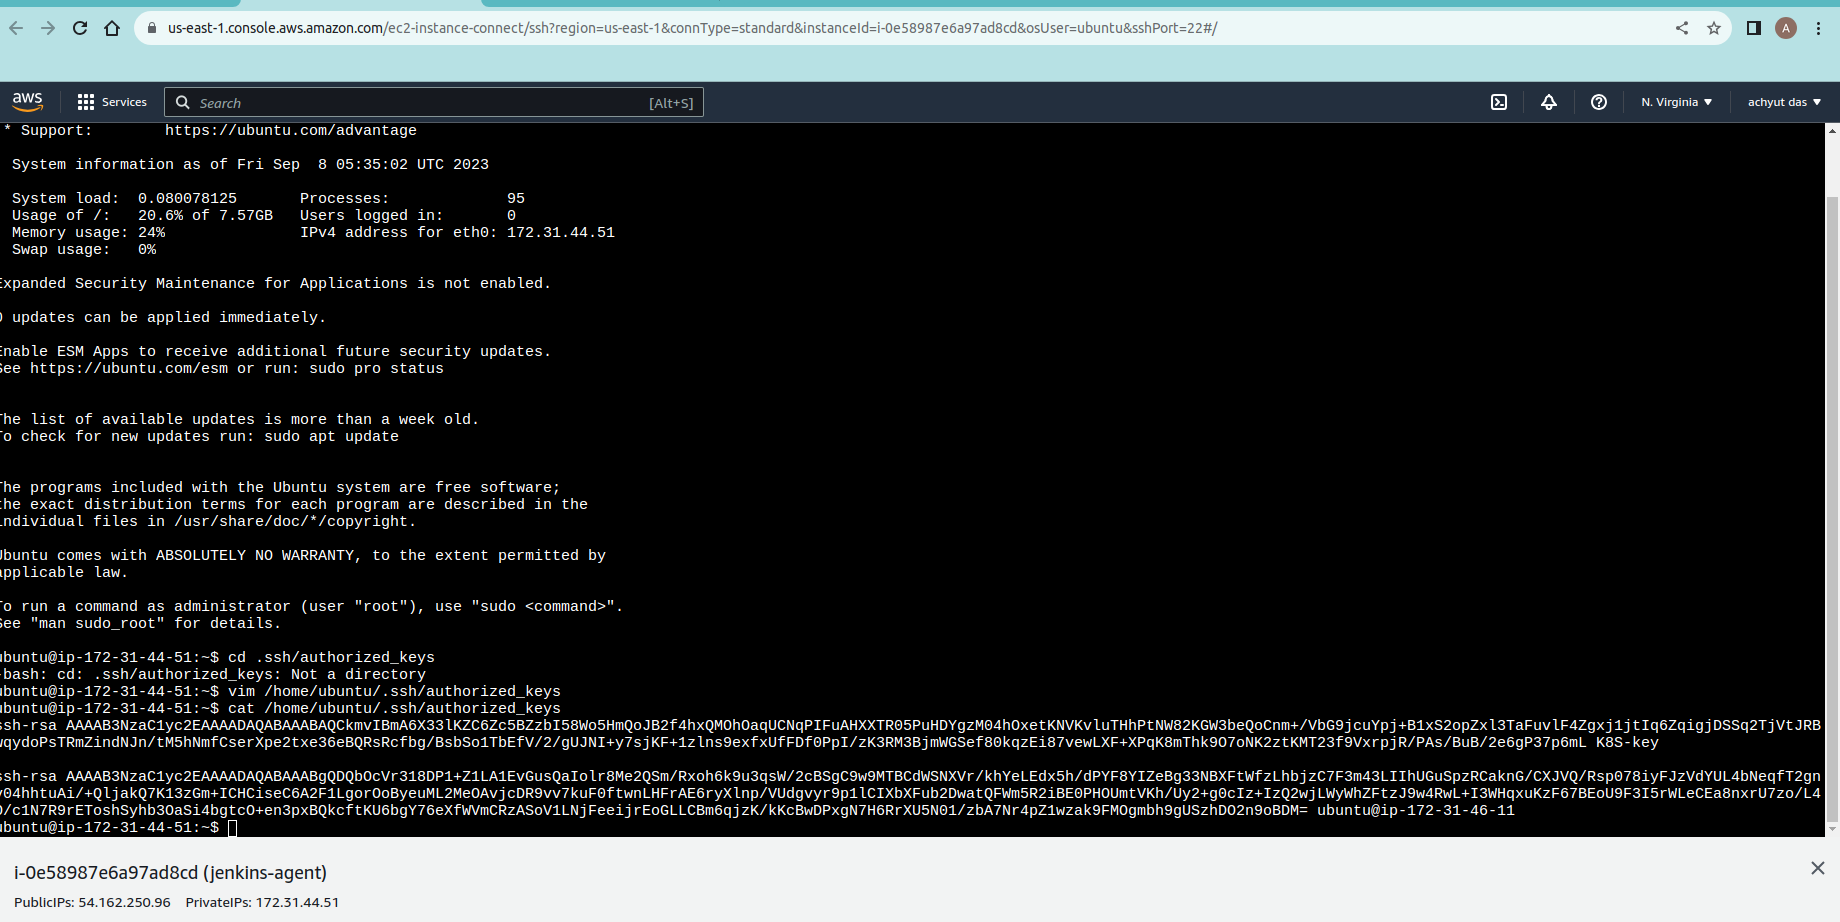
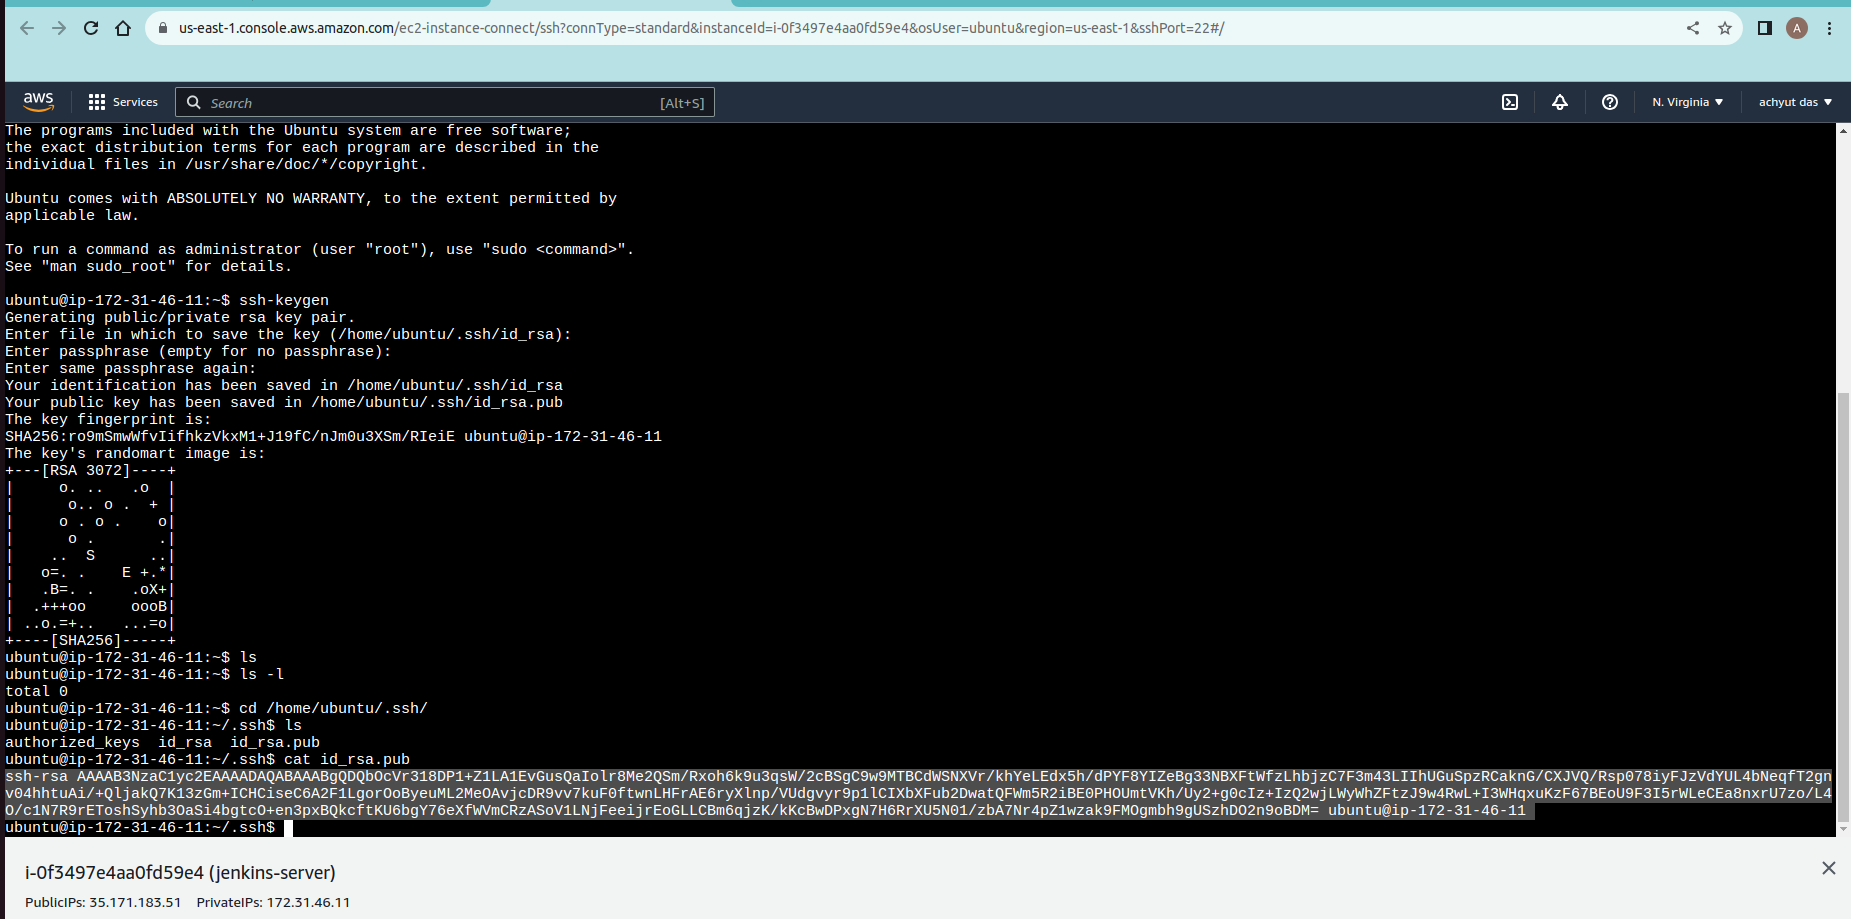
connect both instances using SSH. In "jenkins-server" instance generate public and private key by using this command:
ssh-keygen
cd .ssh/
ls
# here "id_rsa.pub" indicates public key and "id_rsa" indicates private key.
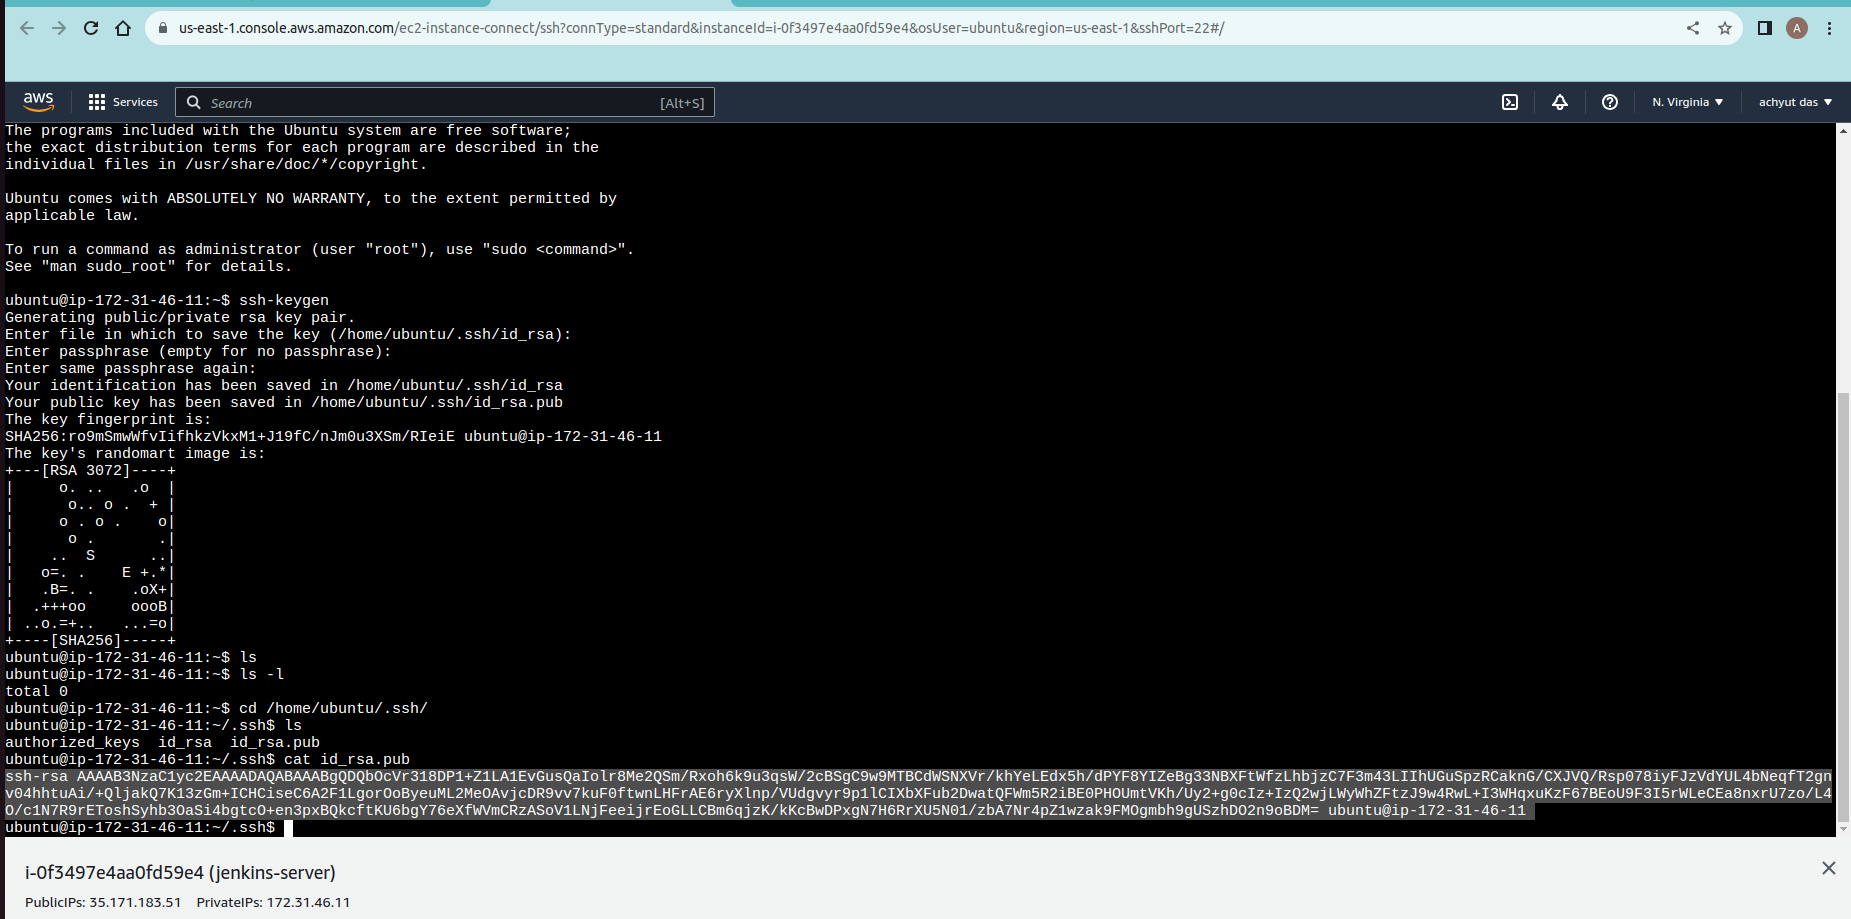
copy the public key from "jenkins-server" instance and go to the .ssh folder of "jenkins-agent" instance paste the public key in "authorized_key" file.
vim /home/ubuntu/.ssh/authorized_keys
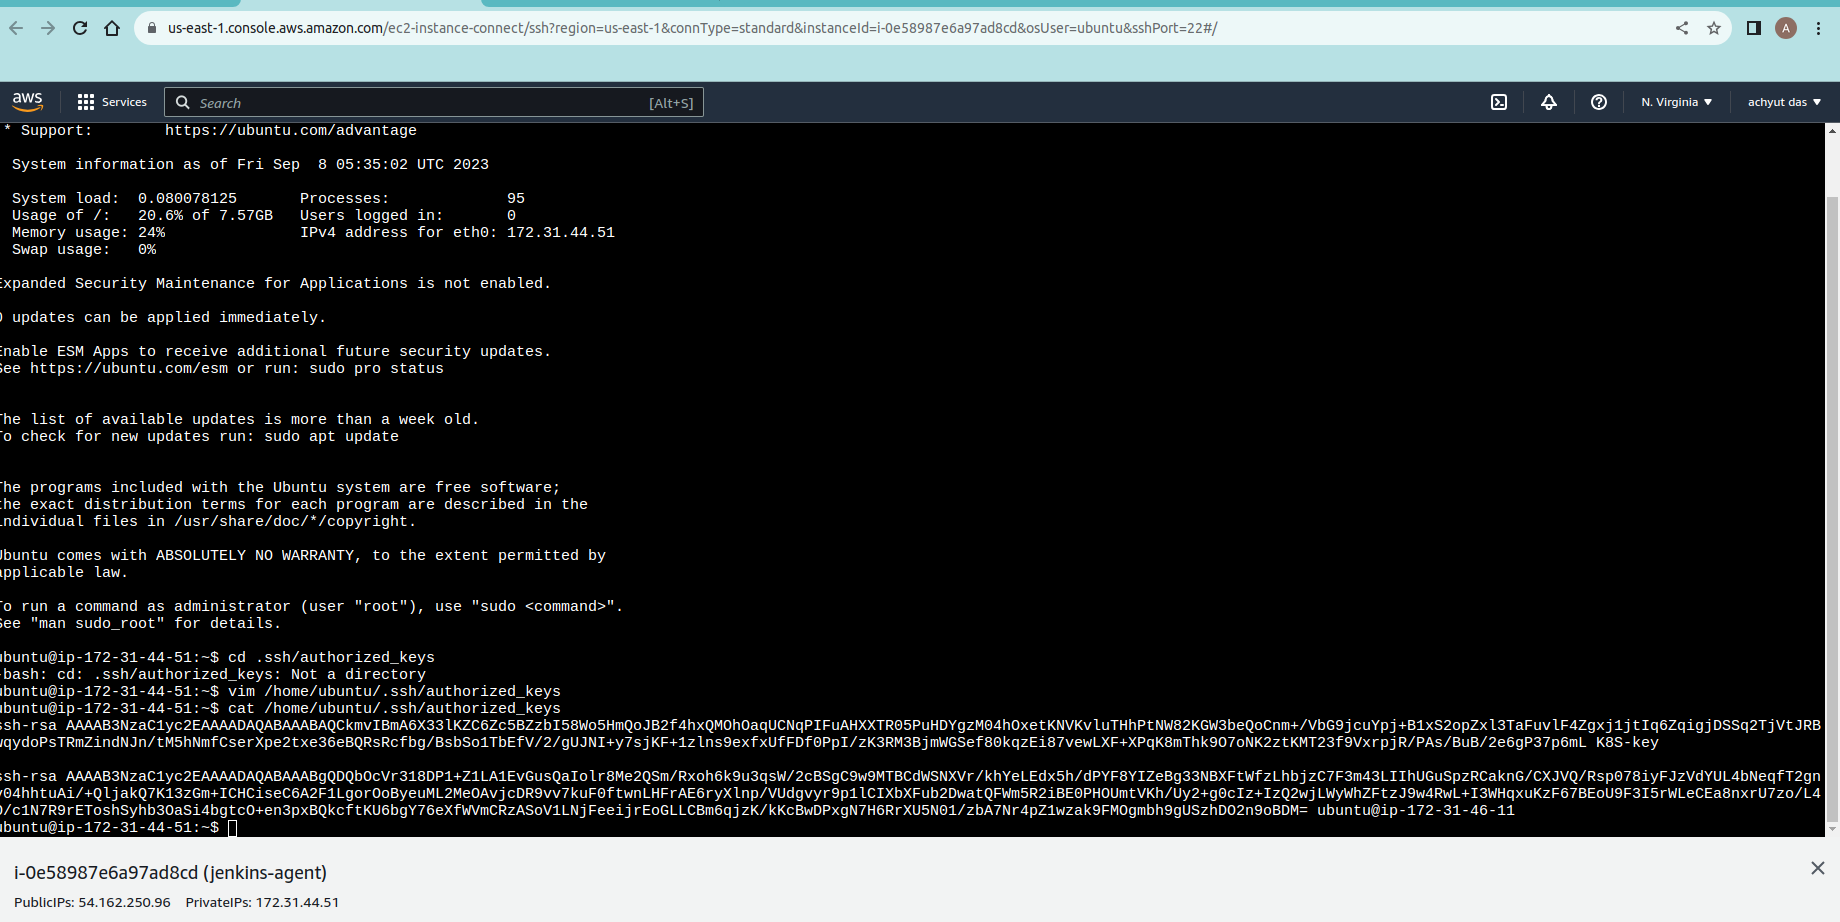
give all required permissions in "jenkins-server" instances to access jenkins in the browser.
In jenkins add a node-:
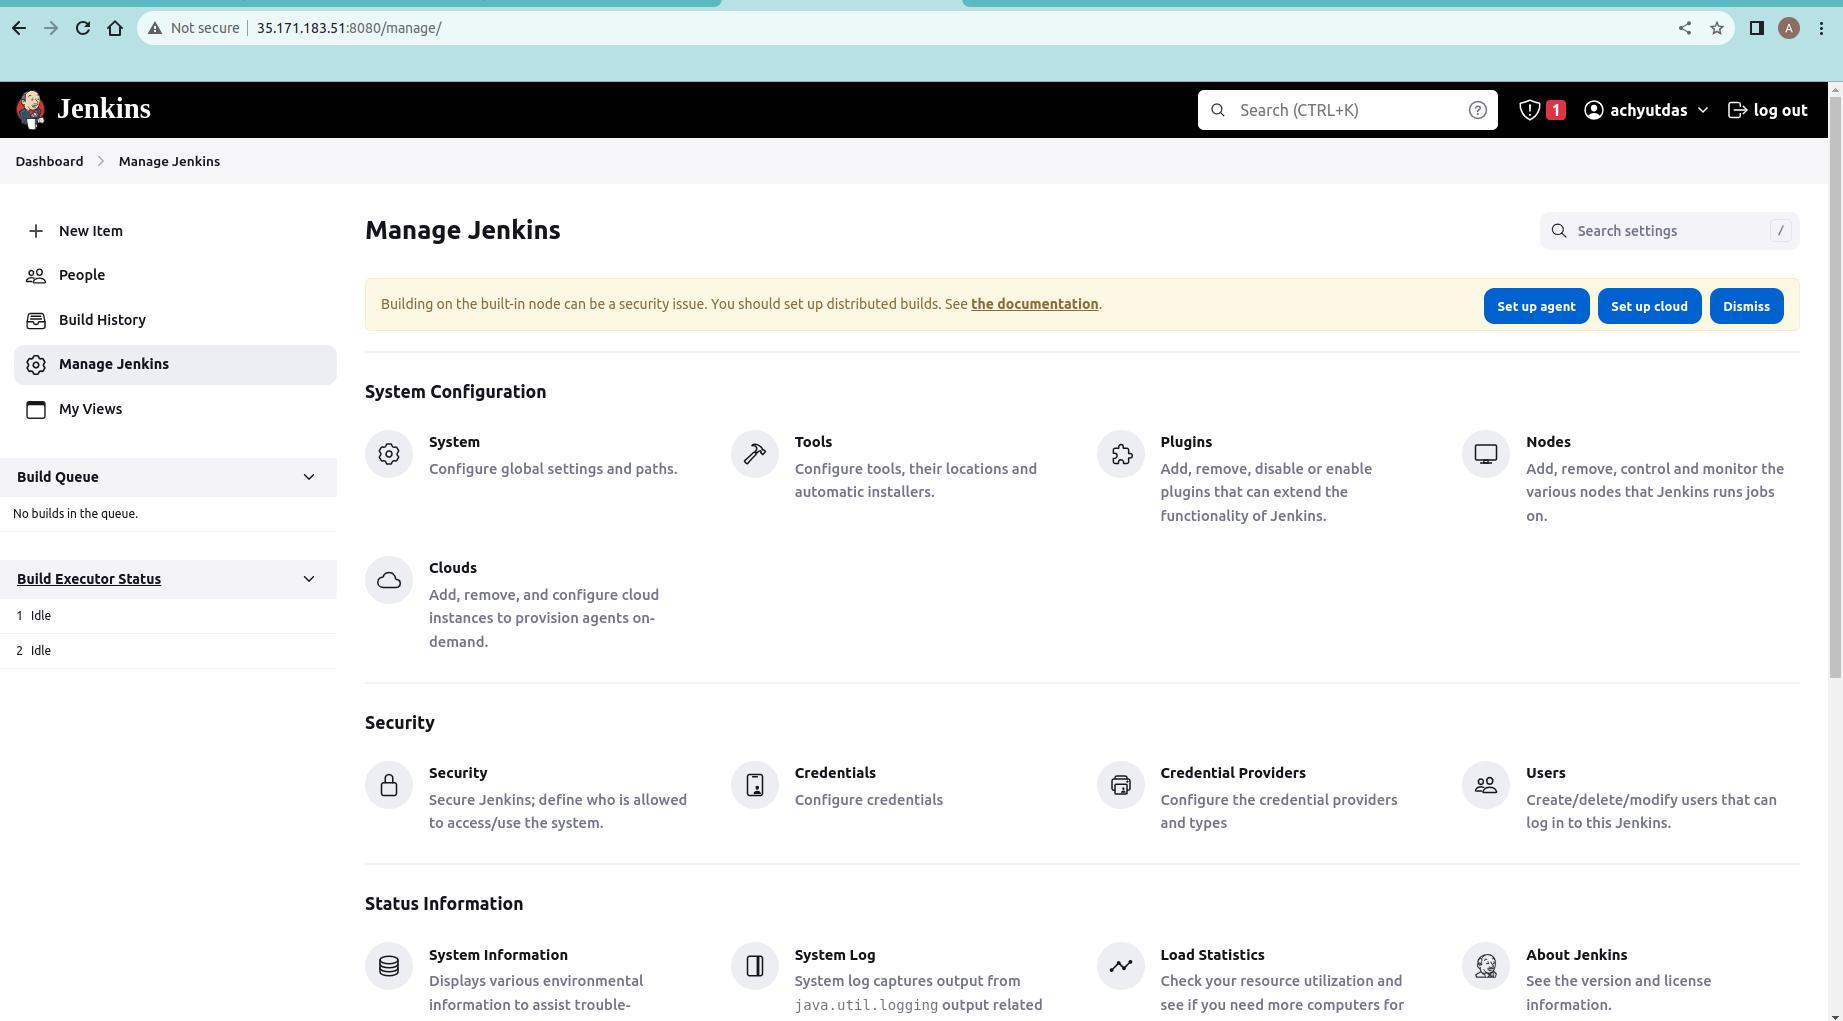
go to "manage jenkins" option and click on the "set of agents" option.
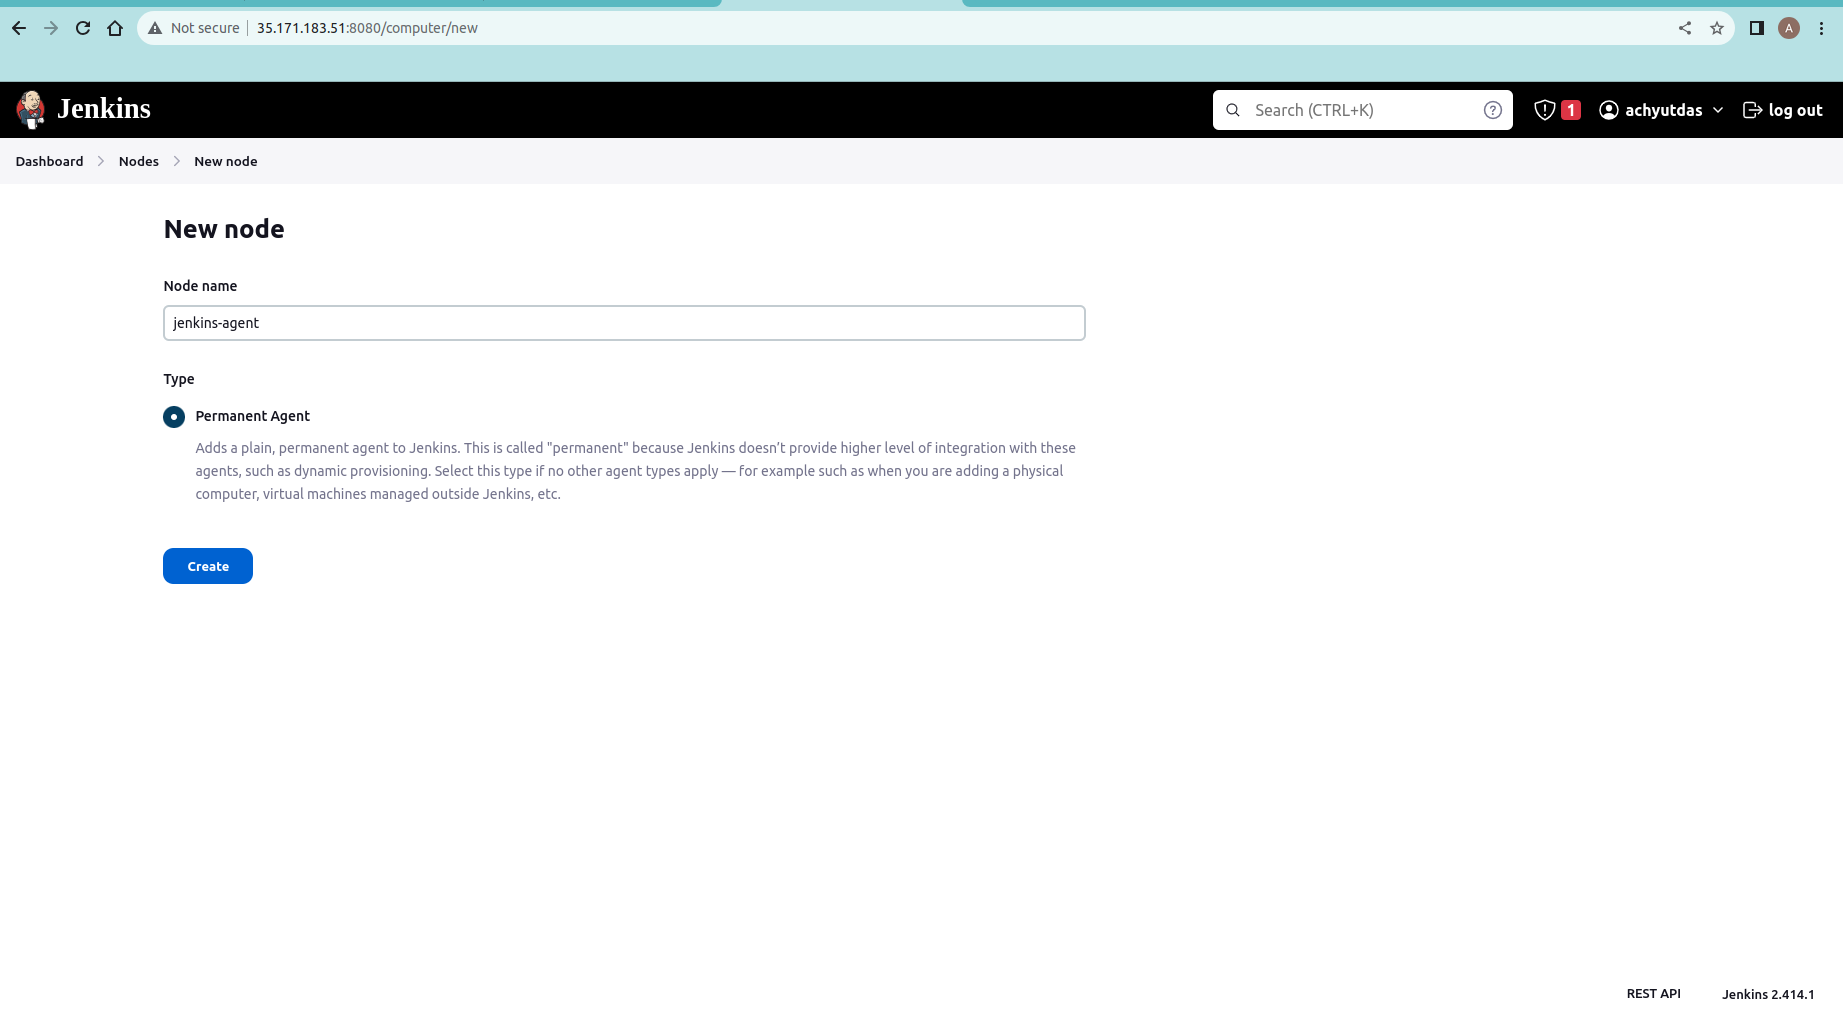
set "node name" and select agent type as "permanent agent".Click on the "create" button.
add the following details-:
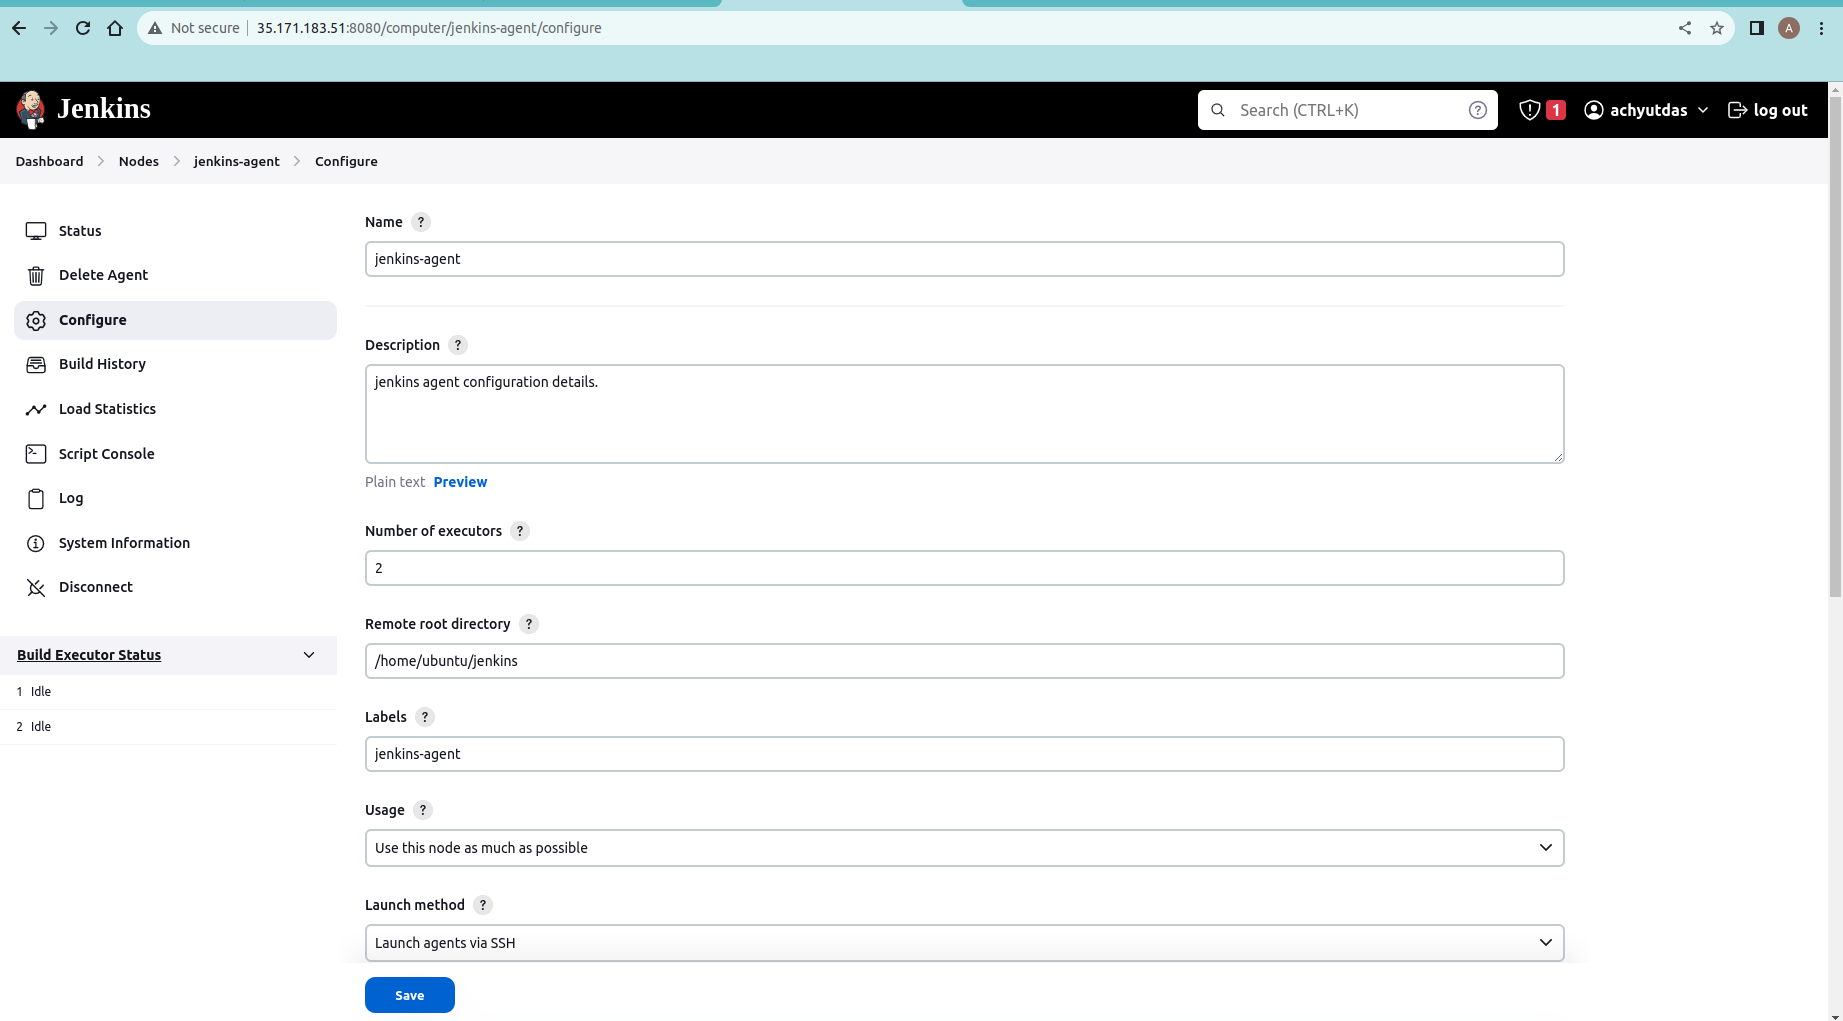
select lunch method as "Lunch agent via ssh". add the public ip address of the "jenkins-agent" instance in "Host" option.
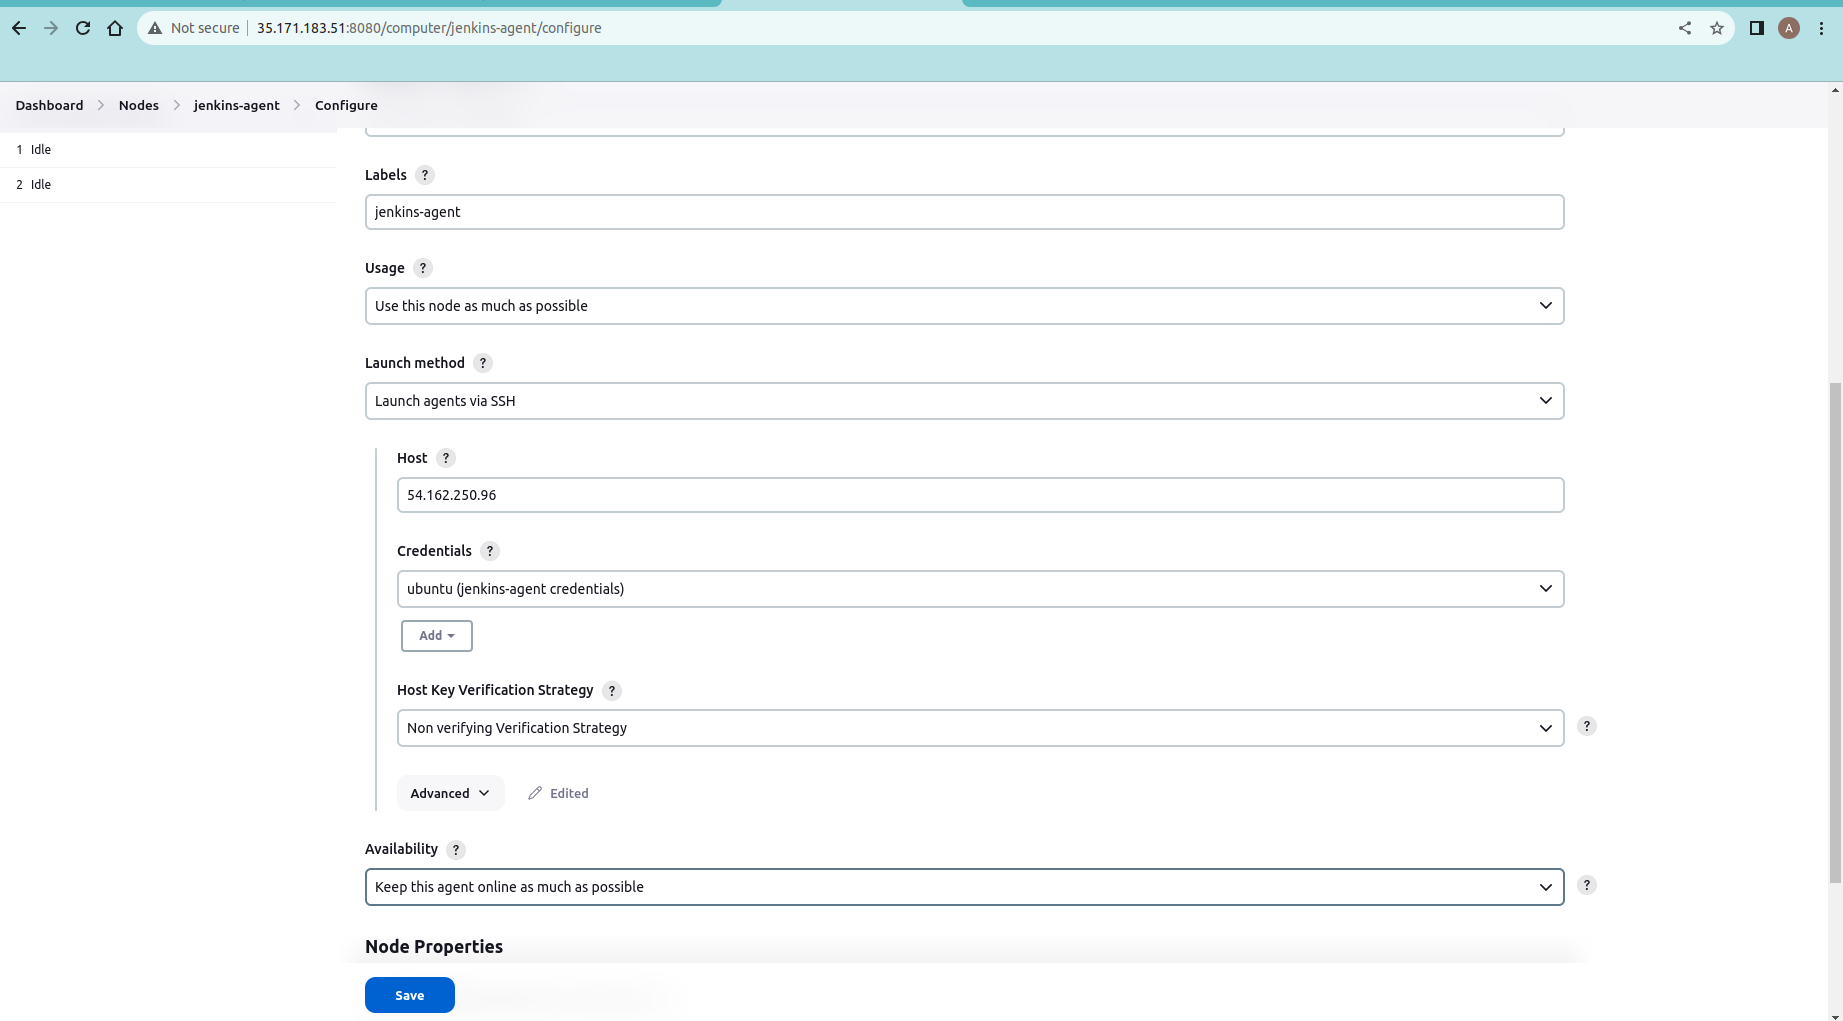
click on the "credentials" option and all the details-:
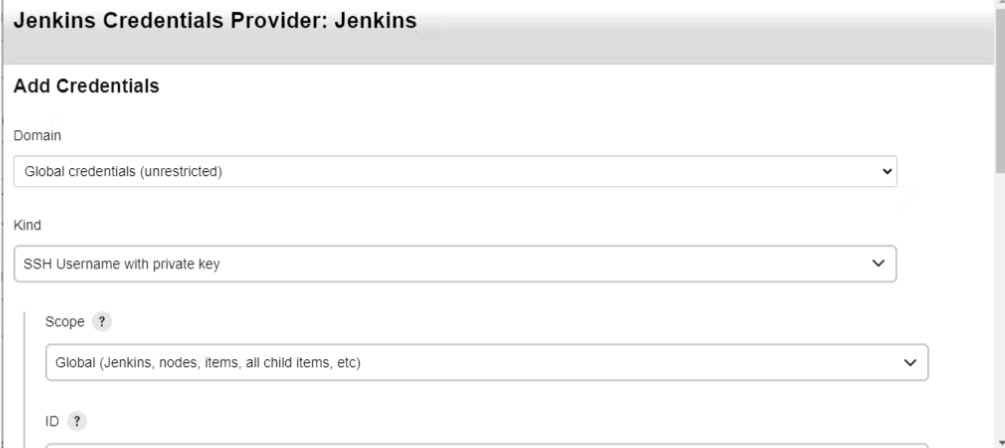
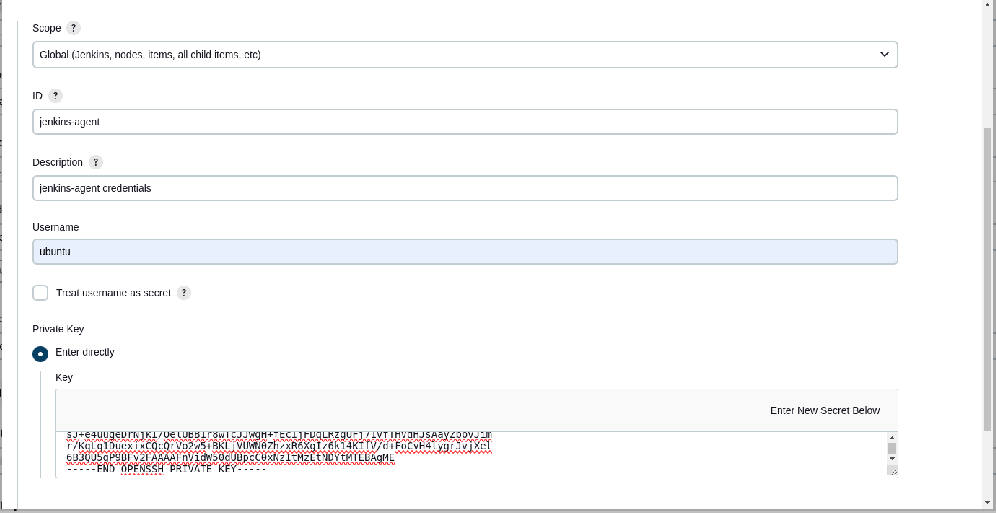
copy the jenkins-server's private key and add it to the "key" option.
select "Host key verification strategy" as "Non verifying verification strategy" and click on the "save" option.
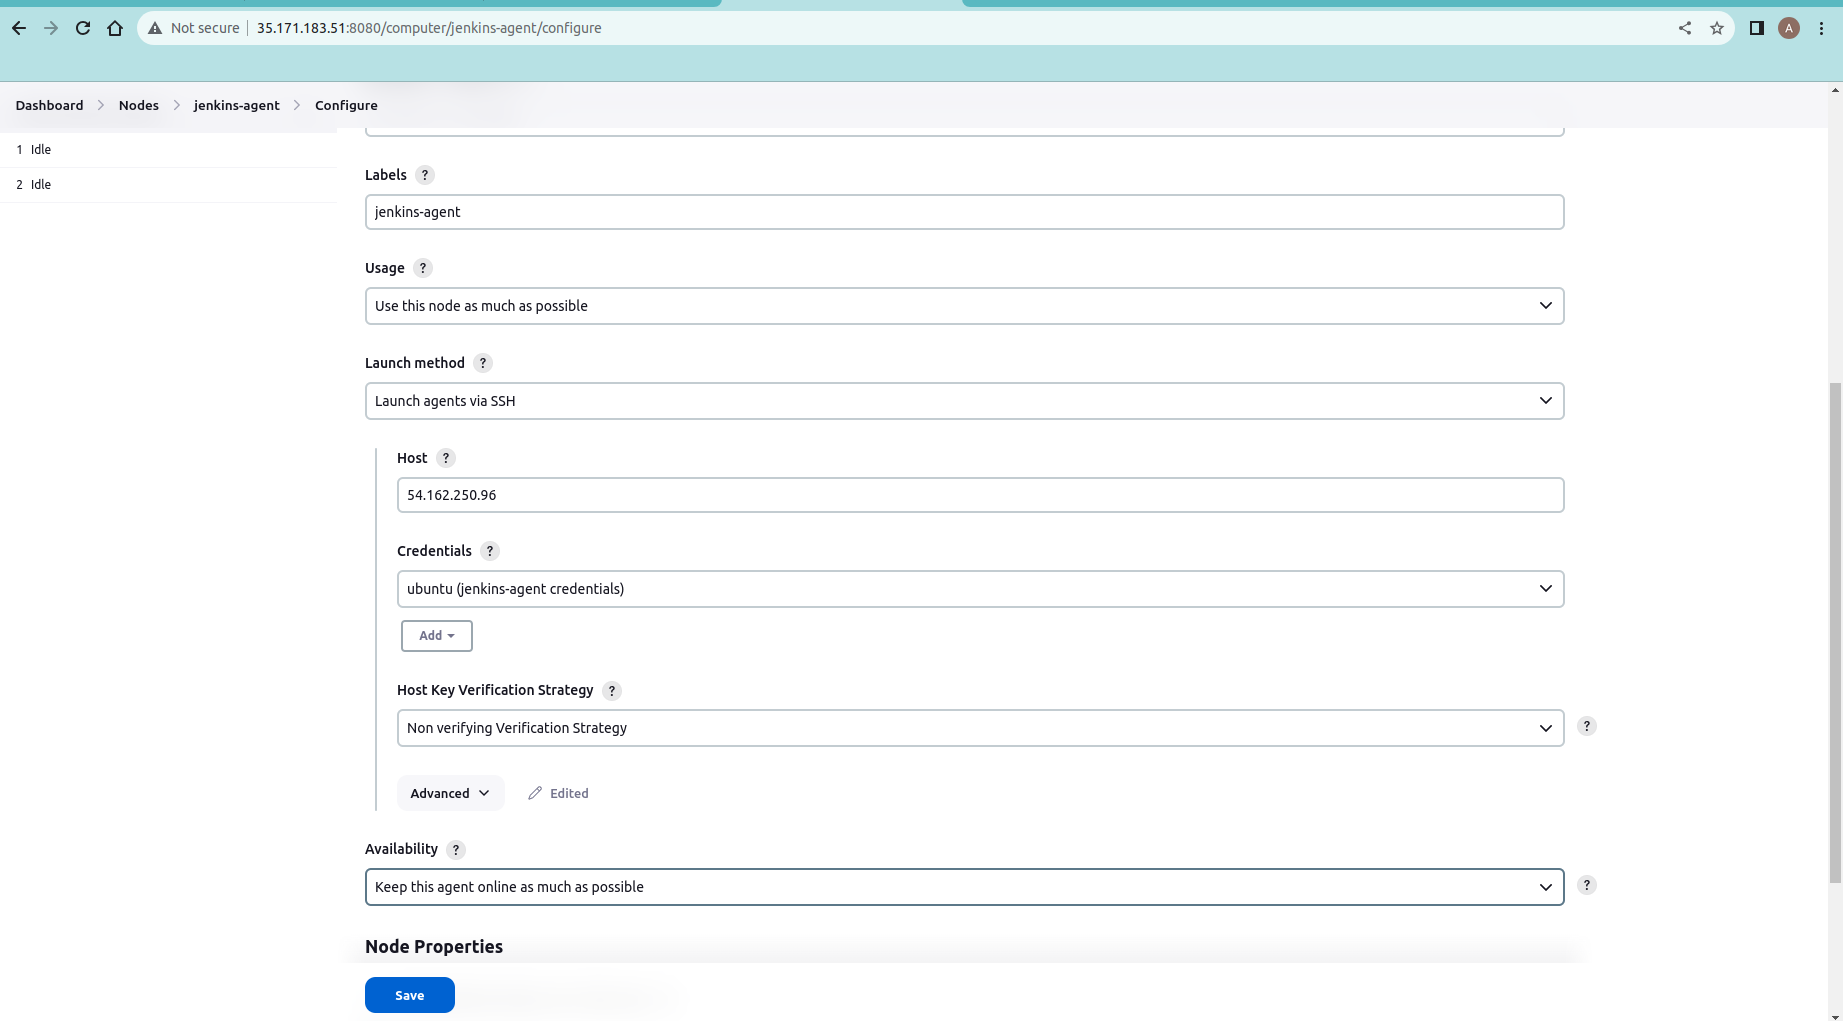
you can see agent will be connected and online.
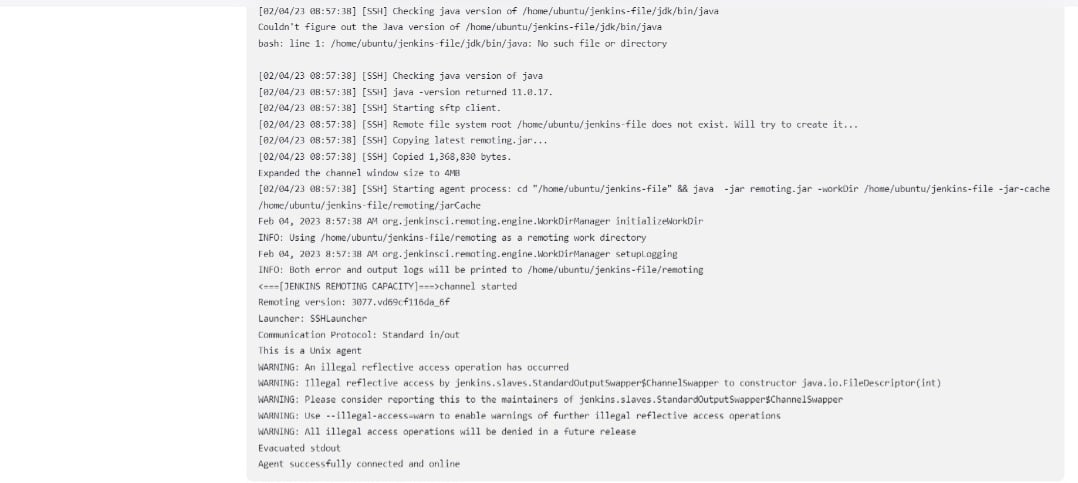
✅Run jobs on the new agent and Use labels for the agent, your master server should trigger builds for the agent server.🌐🤝
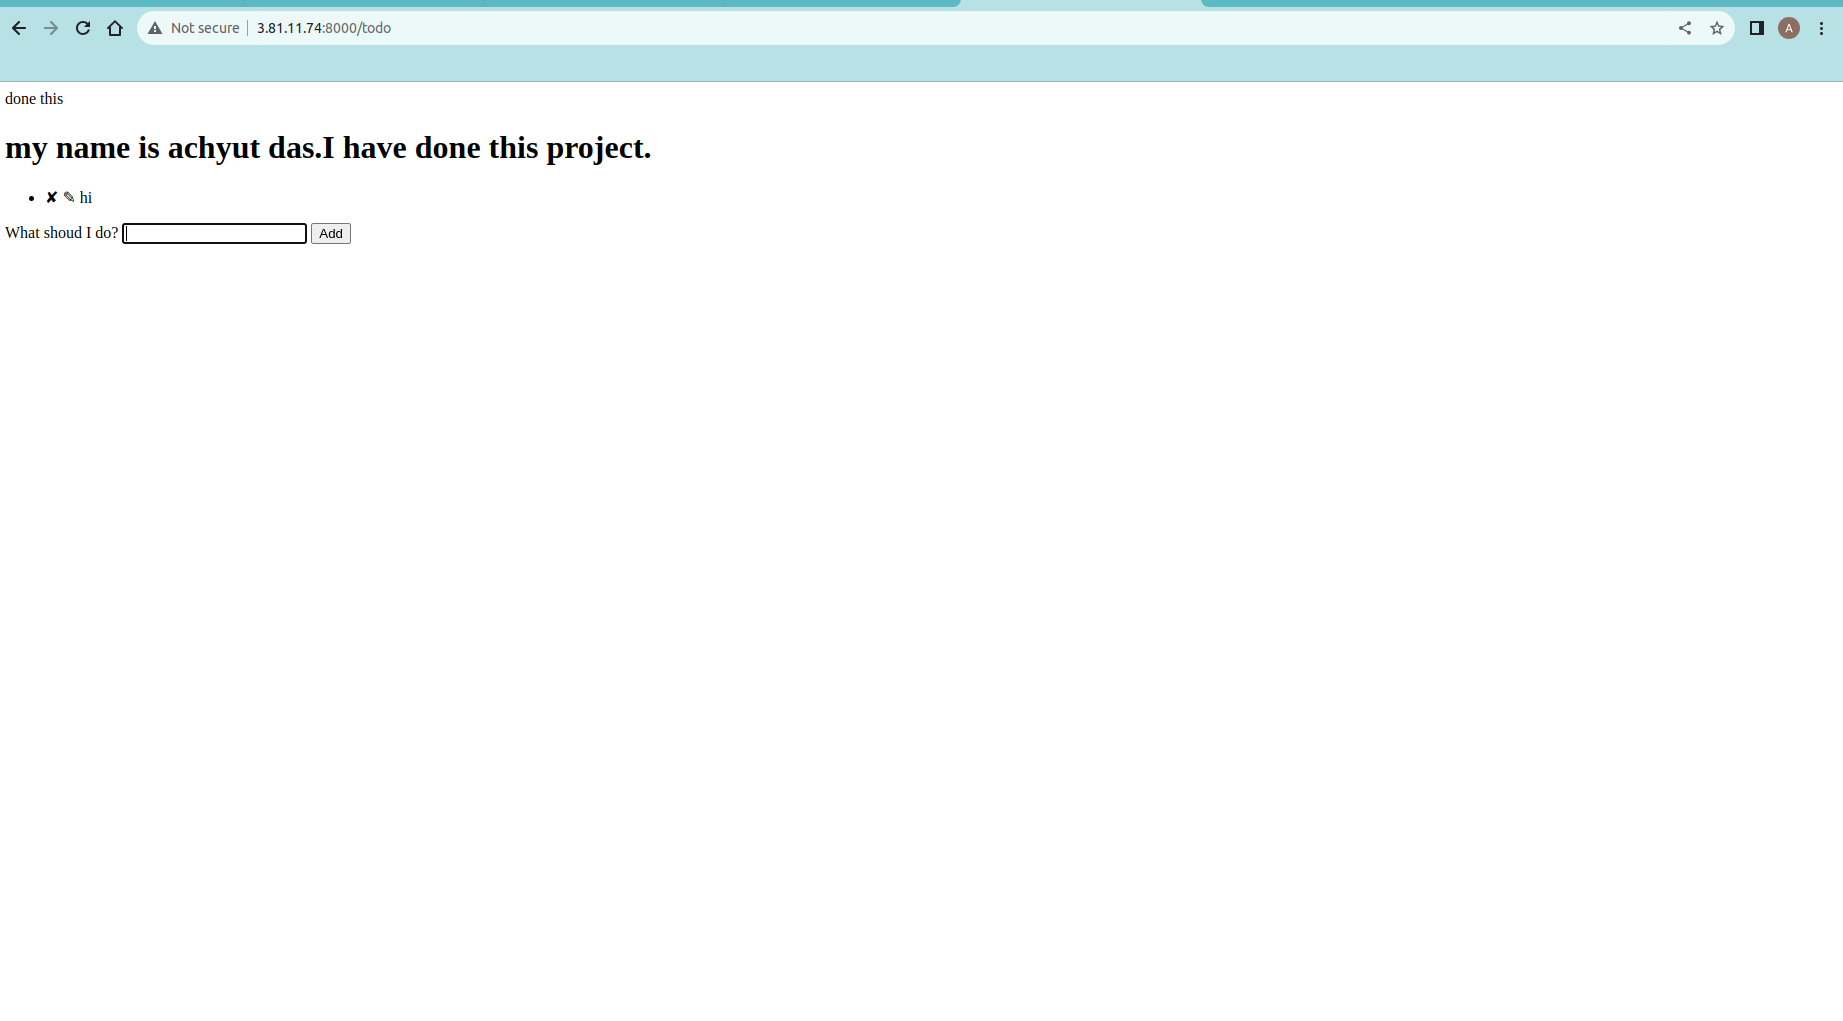
In this job we will build and deploy node-app using jenkins declarative pipeline.
steps to build and deploy the node-app:
step 1: click on "+ New item" and create a pipeline.
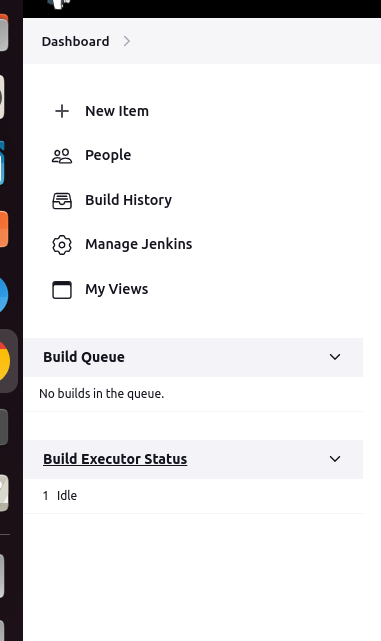
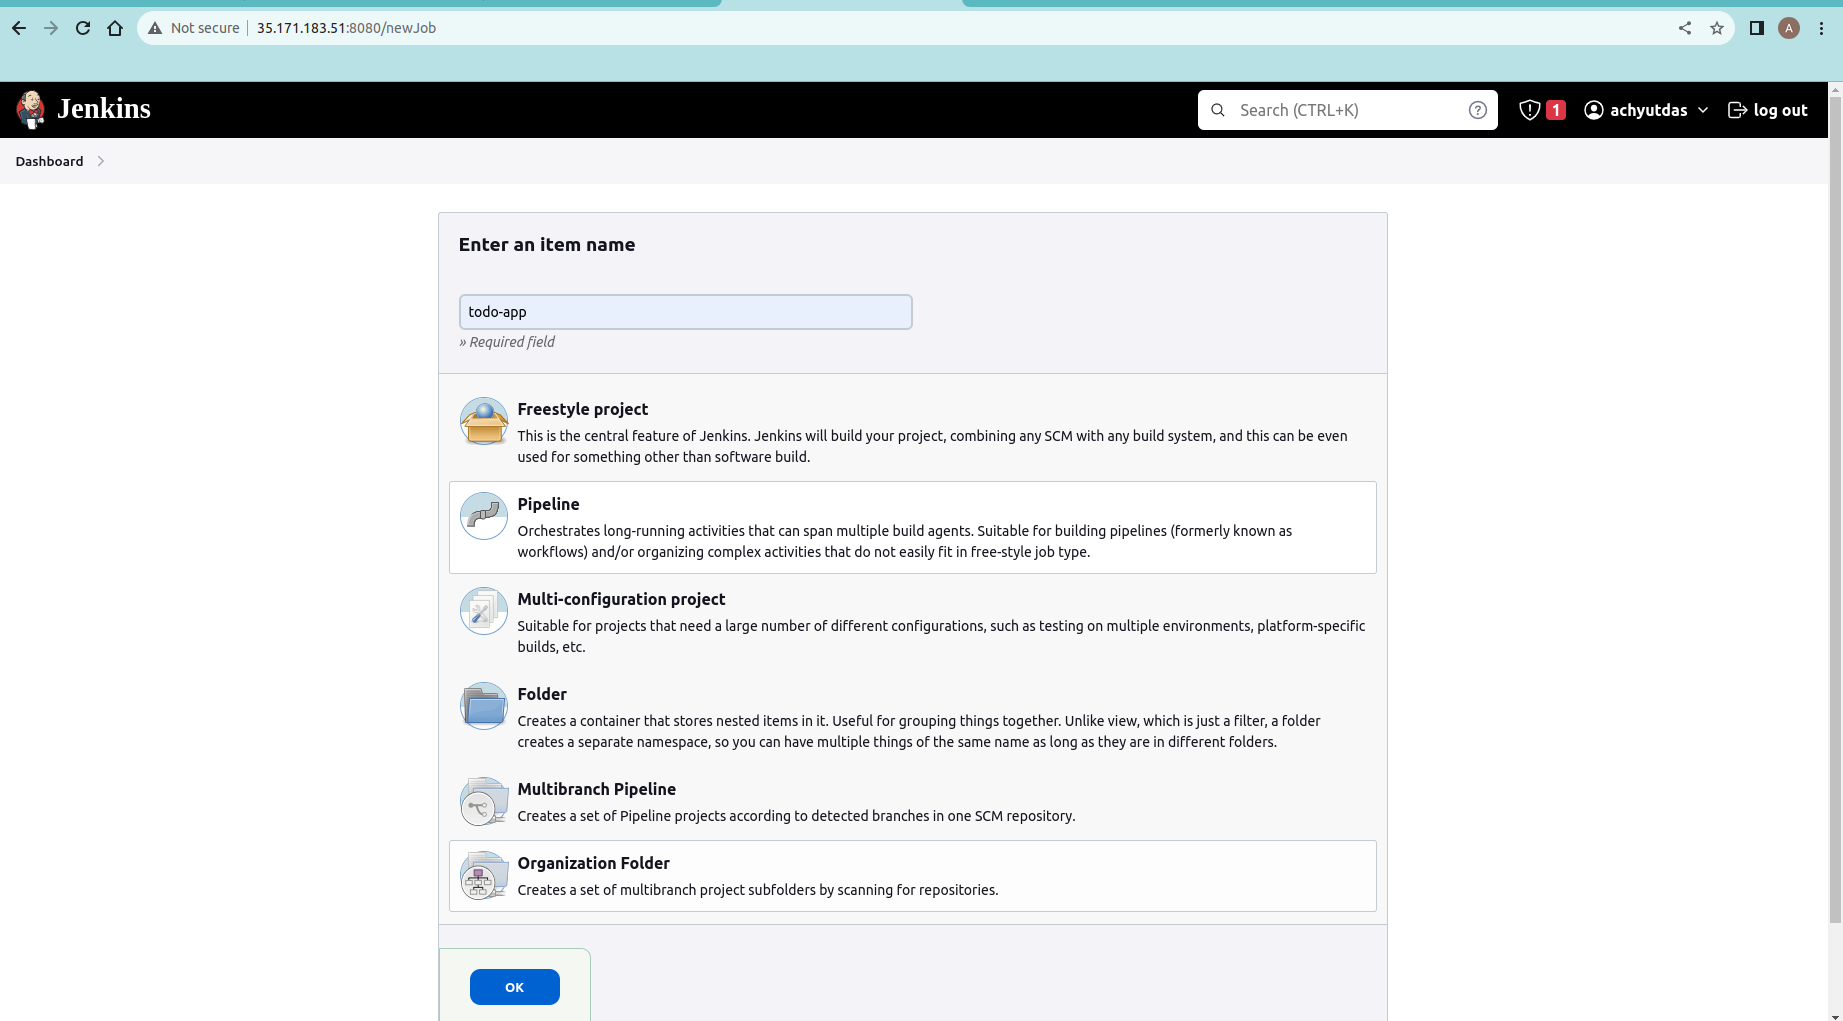
Step 2: describe your project in description option and select github project . add github project(node-app link) in the "project url" option.
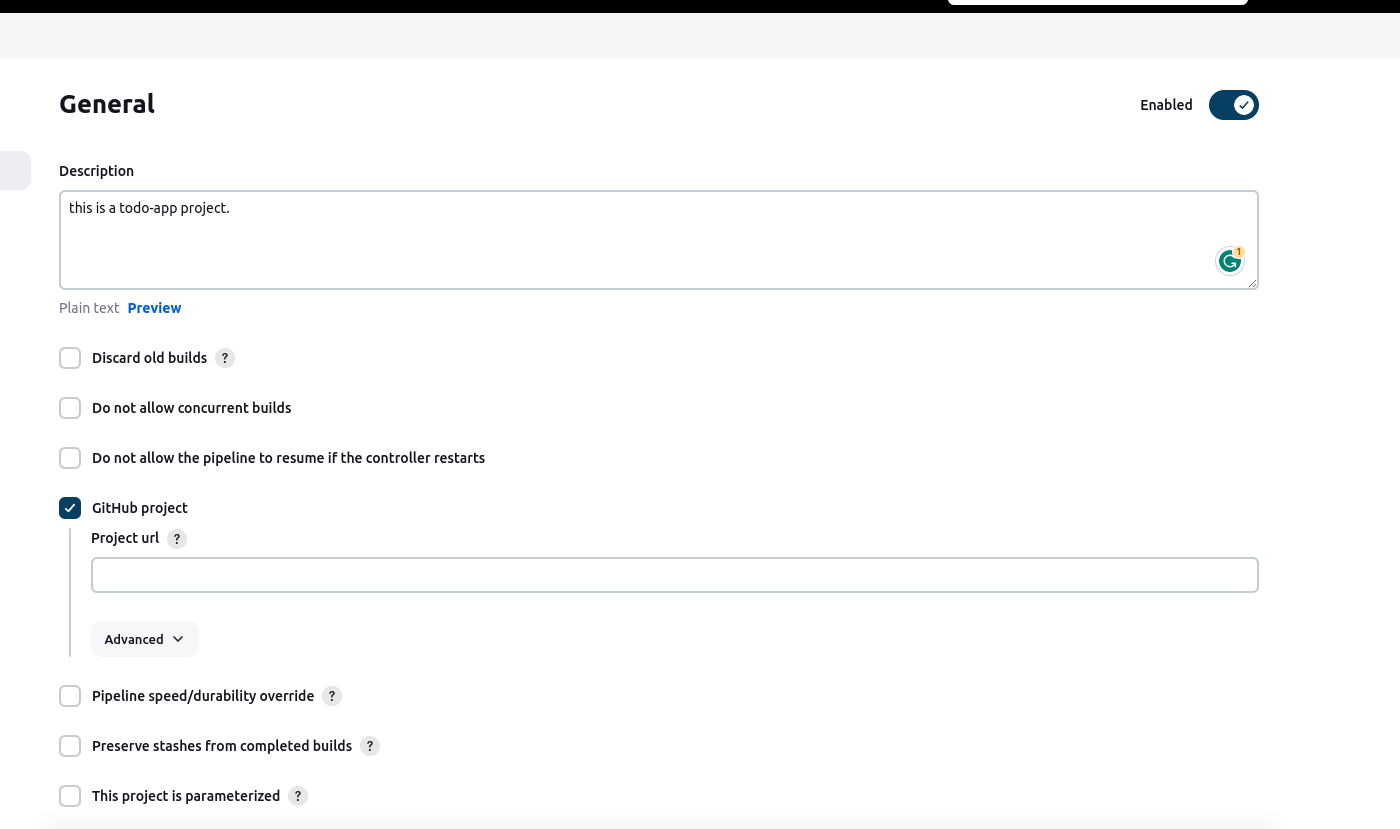
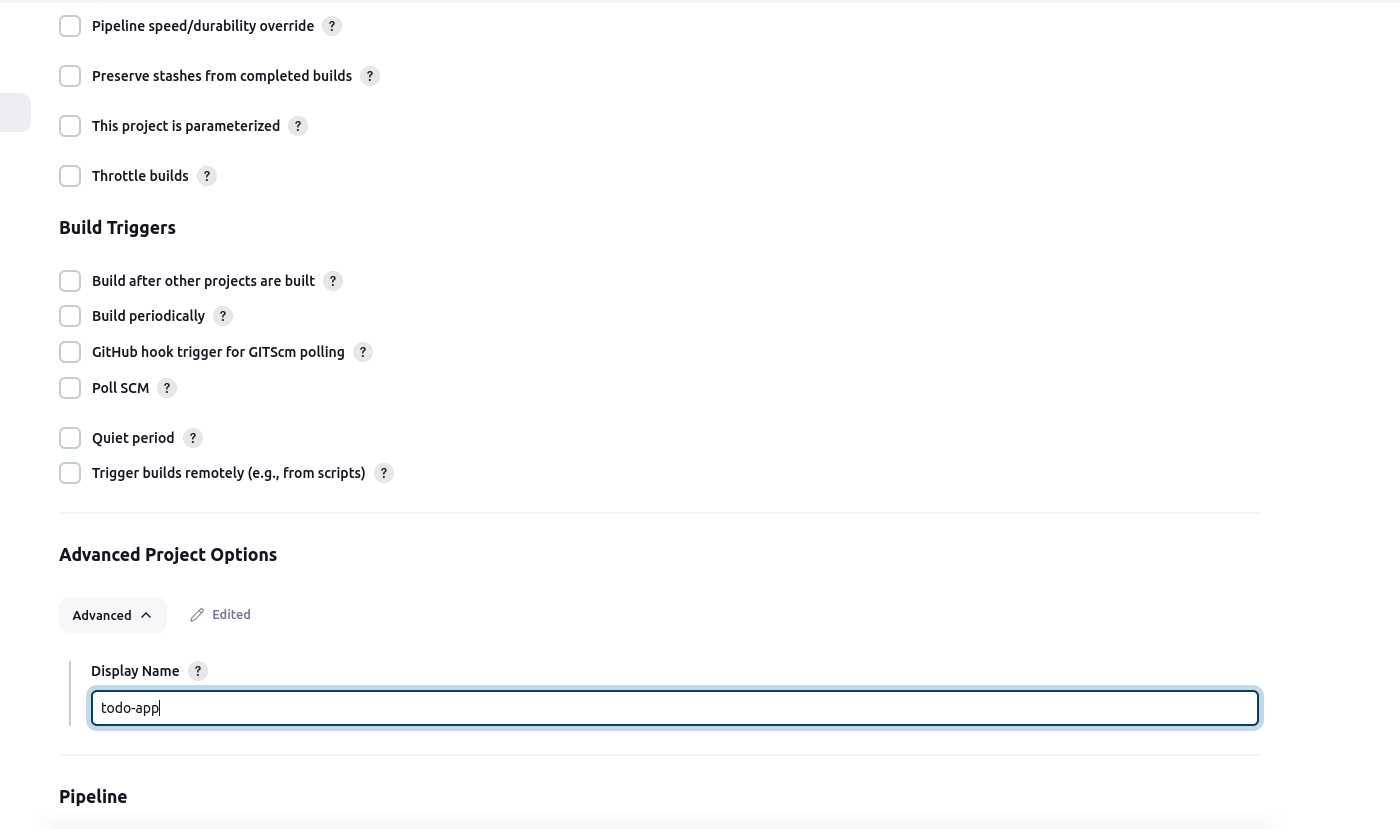
select "advanced project option" and add display name.
select pipeline definition as "pipeline script".
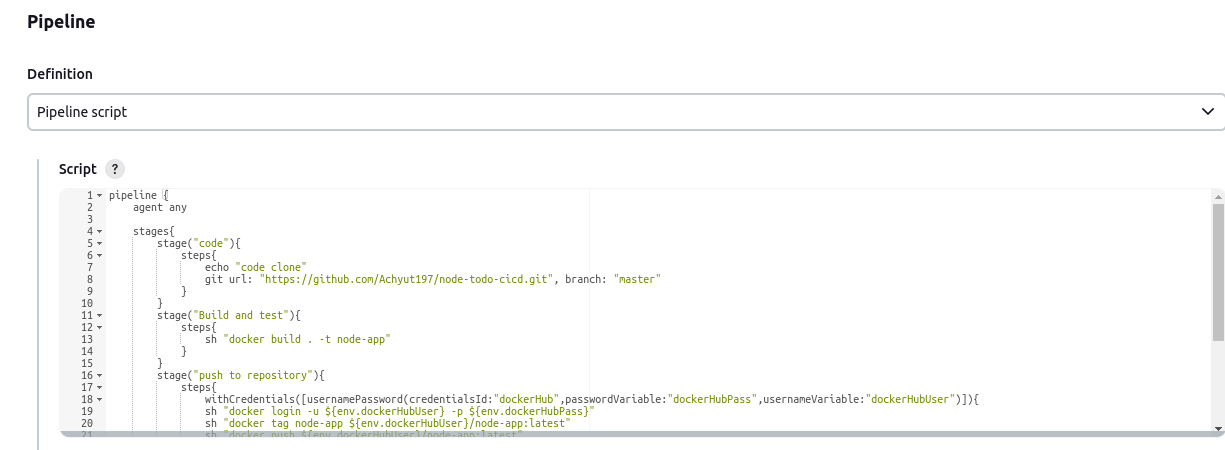
pipeline {
    agent any
#code was clone from github
    stages{
        stage("code"){
            steps{
                echo "code clone"
                git url: "https://github.com/Achyut197/node-todo-cicd.git", branch: "master"
            }
        }
# code was build a docker container
        stage("Build and test"){
            steps{
                sh "docker build . -t node-app"
            }
        }
# push the container to dockerHub
        stage("push to repository"){
            steps{
                withCredentials([usernamePassword(credentialsId:"dockerHub",passwordVariable:"dockerHubPass",usernameVariable:"dockerHubUser")]){
                sh "docker login -u ${env.dockerHubUser} -p ${env.dockerHubPass}"
                sh "docker tag node-app ${env.dockerHubUser}/node-app:latest"
                sh "docker push ${env.dockerHubUser}/node-app:latest"
                }
            }
        }
# docker container was deploy using docker-compose
        stage("Deploy"){
            steps{
                sh "docker-compose up -d"
                echo "docker in AWS EC2"
            }

        }
    }
}
click apply and save option.
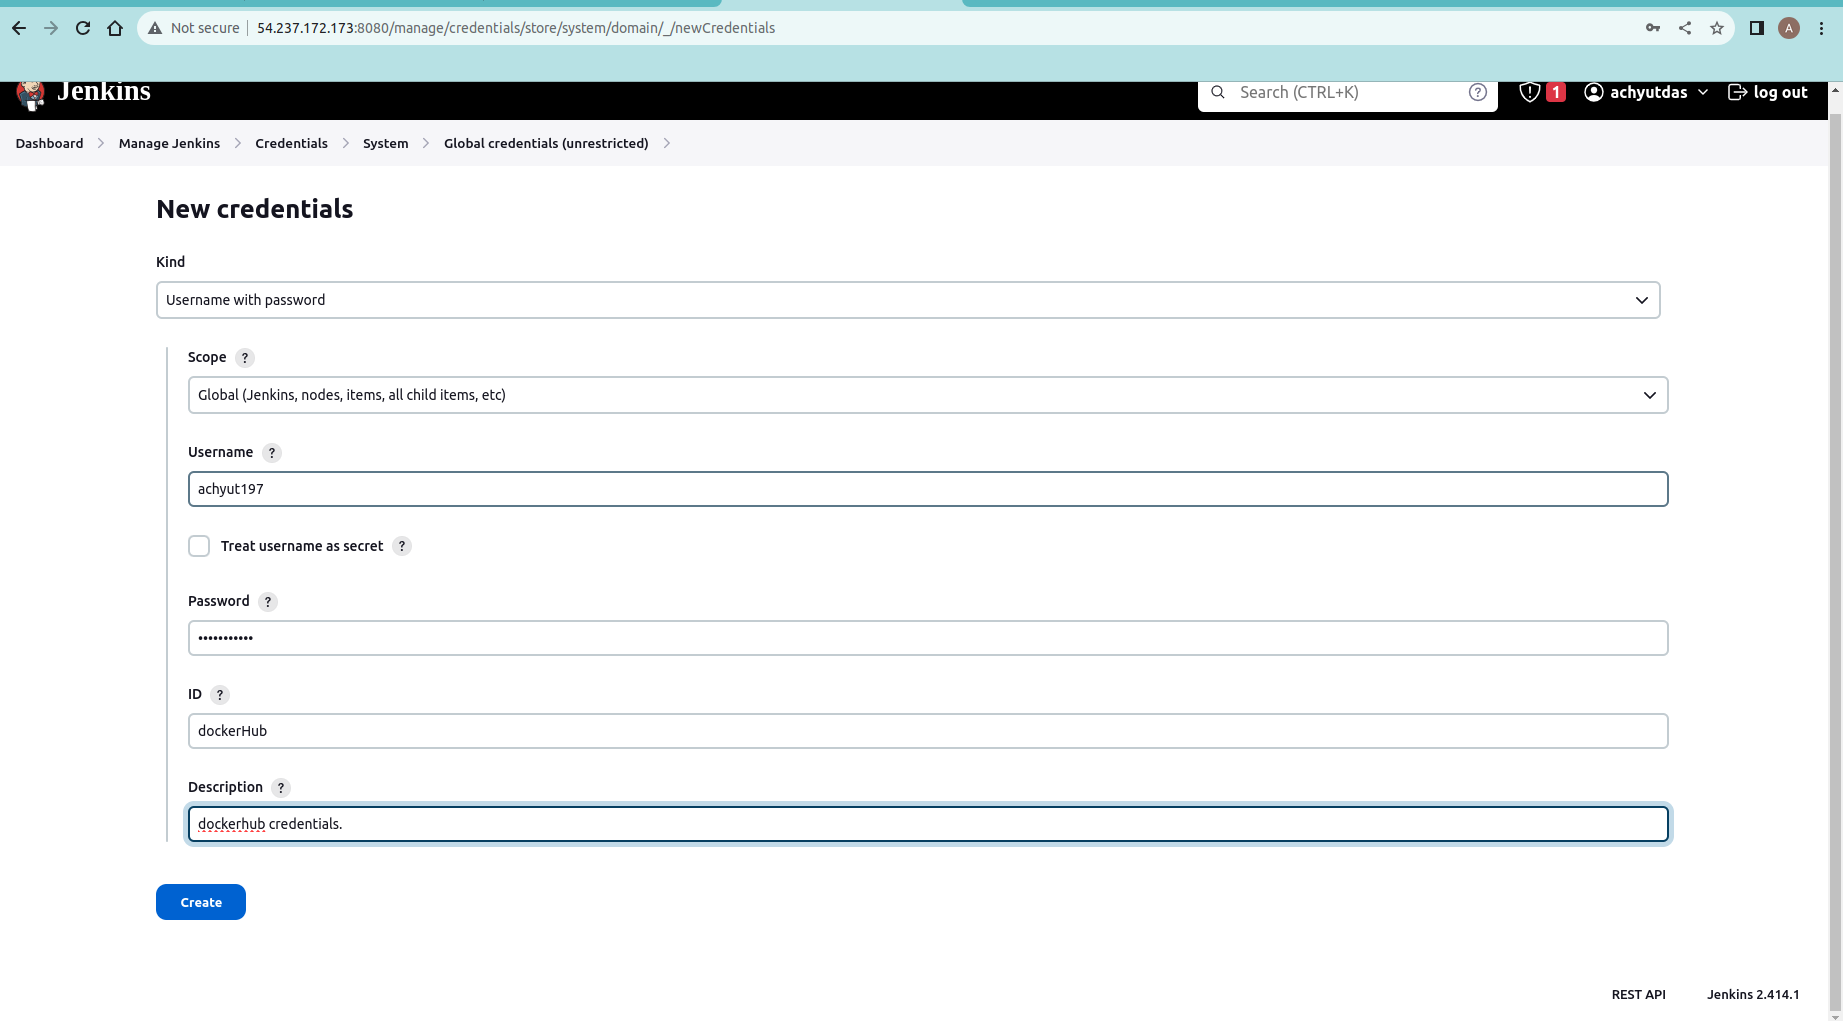
Step 3: create credential for dockerhub to push the docker container.
go to "manage jenkins"->credentials.
select "kind" as username with password .
select "scope" as global(jenkins,nodes,items,all child items,etc).
add username and password.
select "id" as dockerHub and add a description.click "create" option.
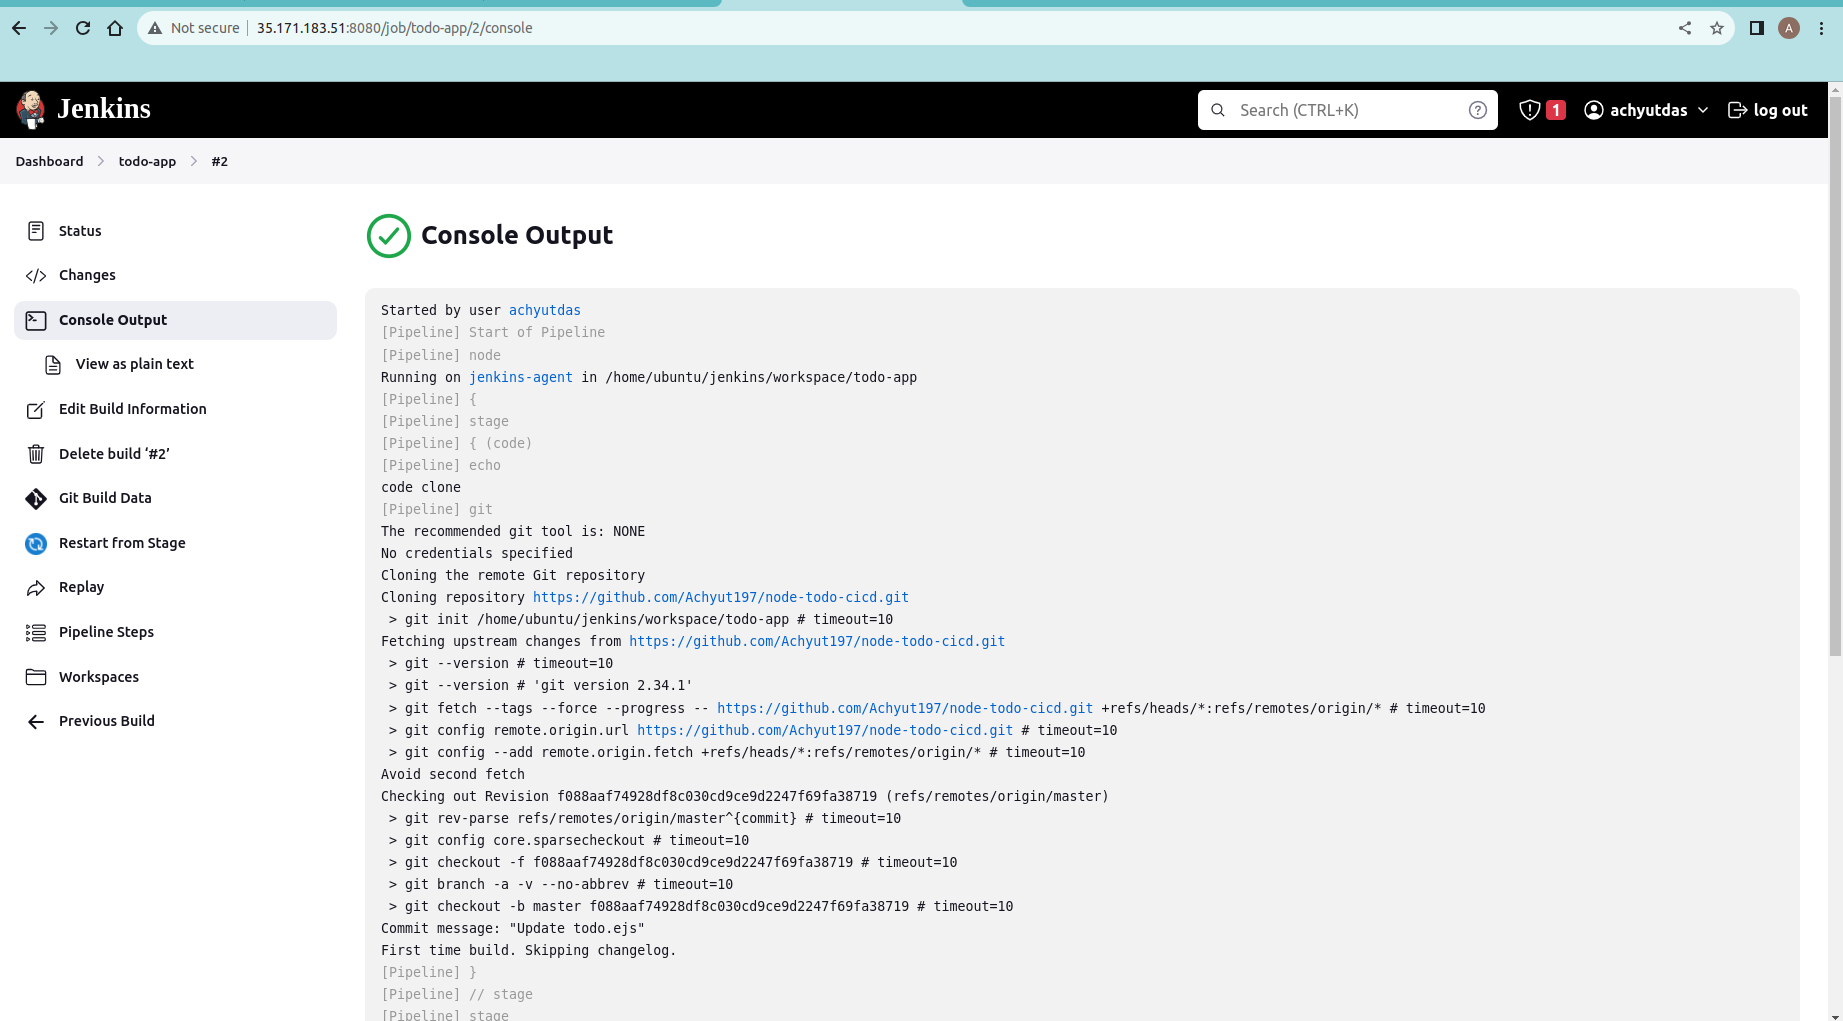
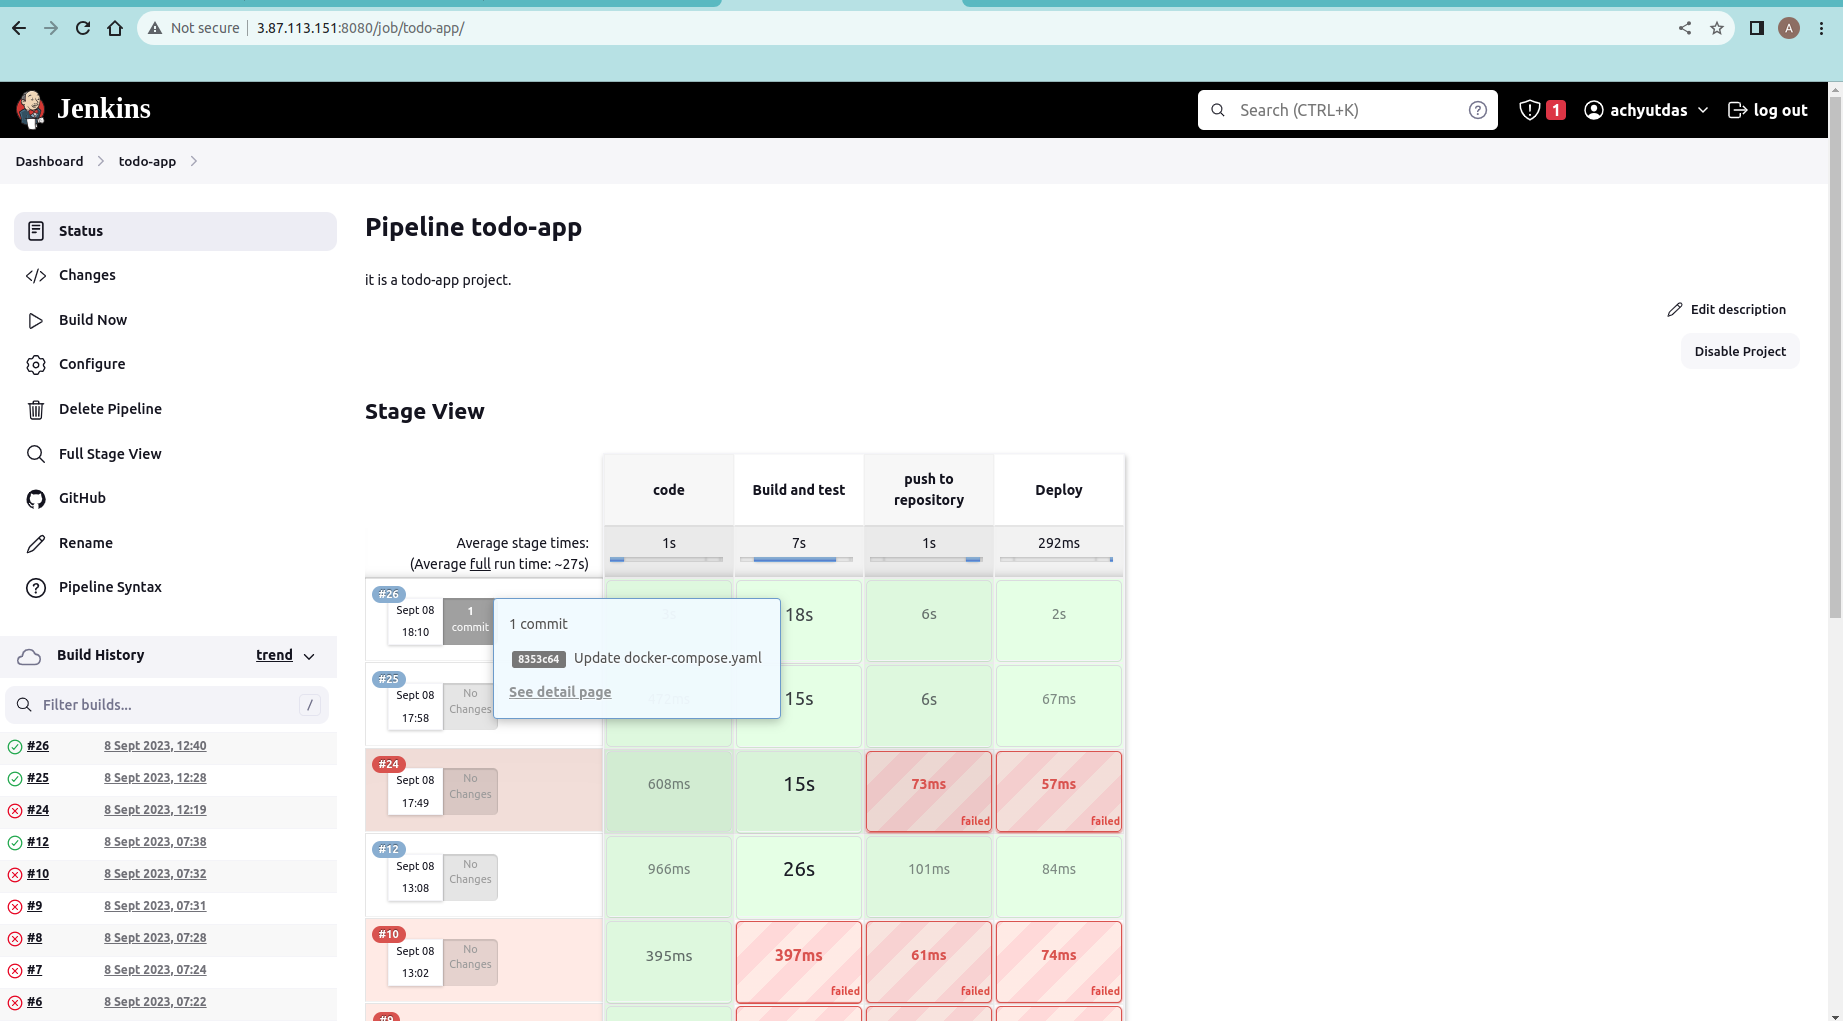
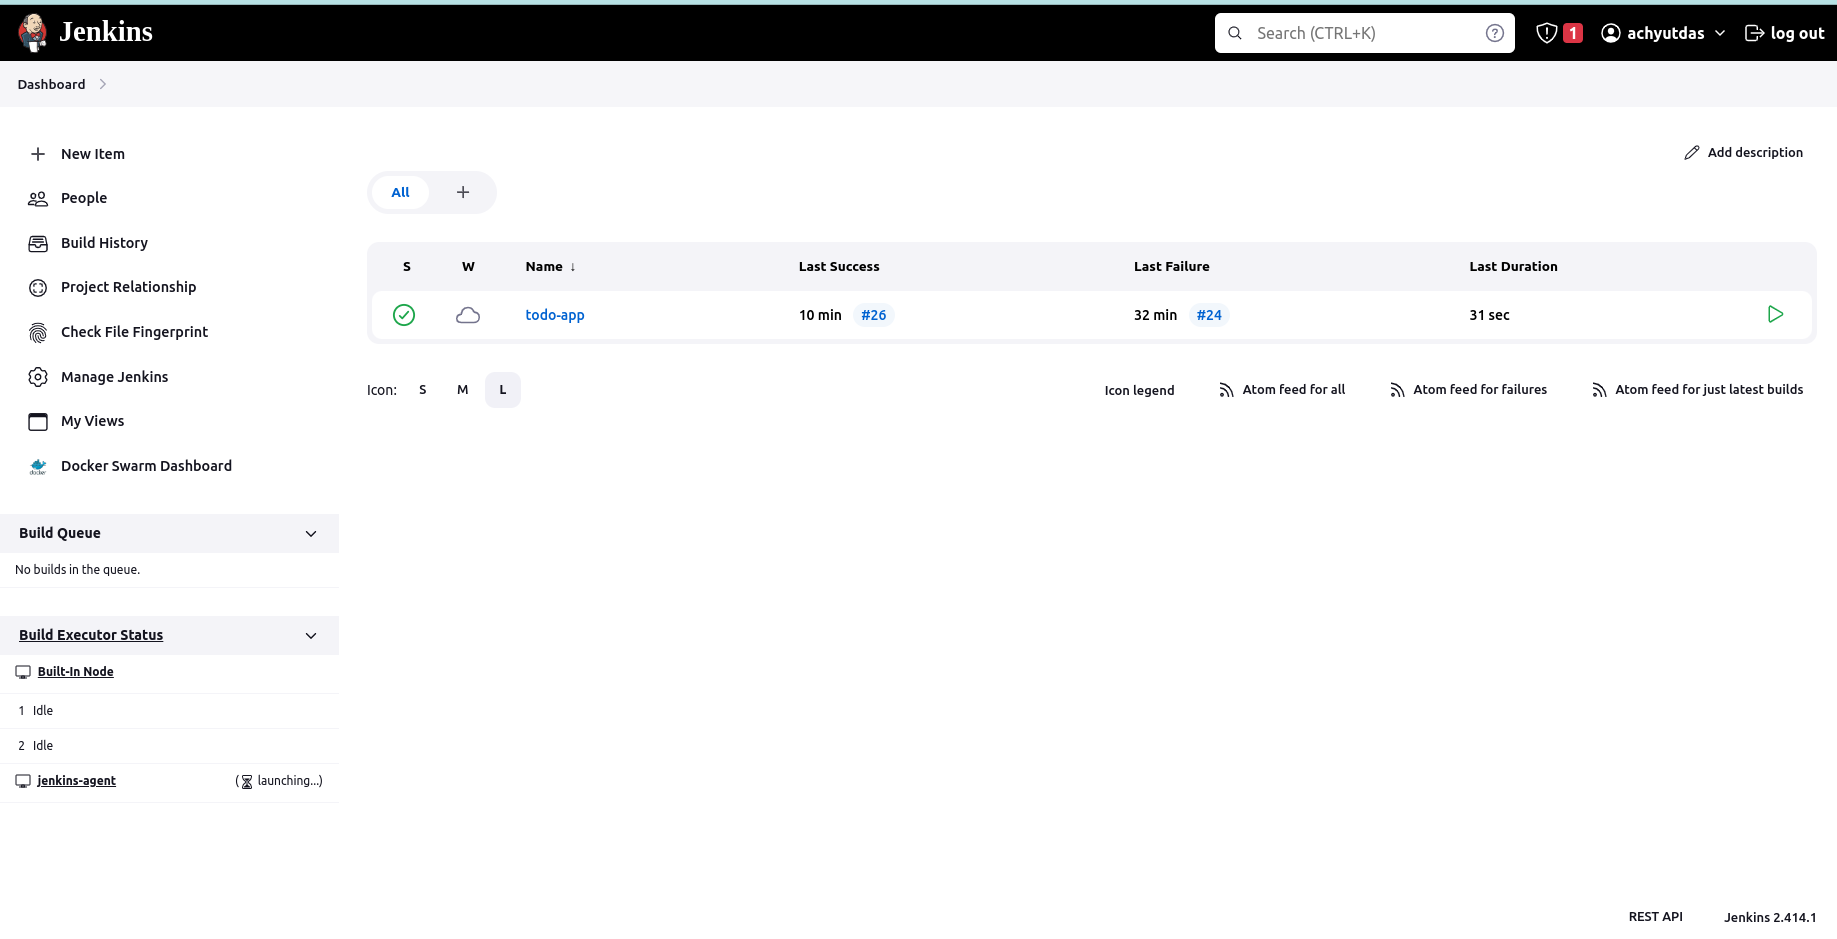
Step 4: click on "build now" option.
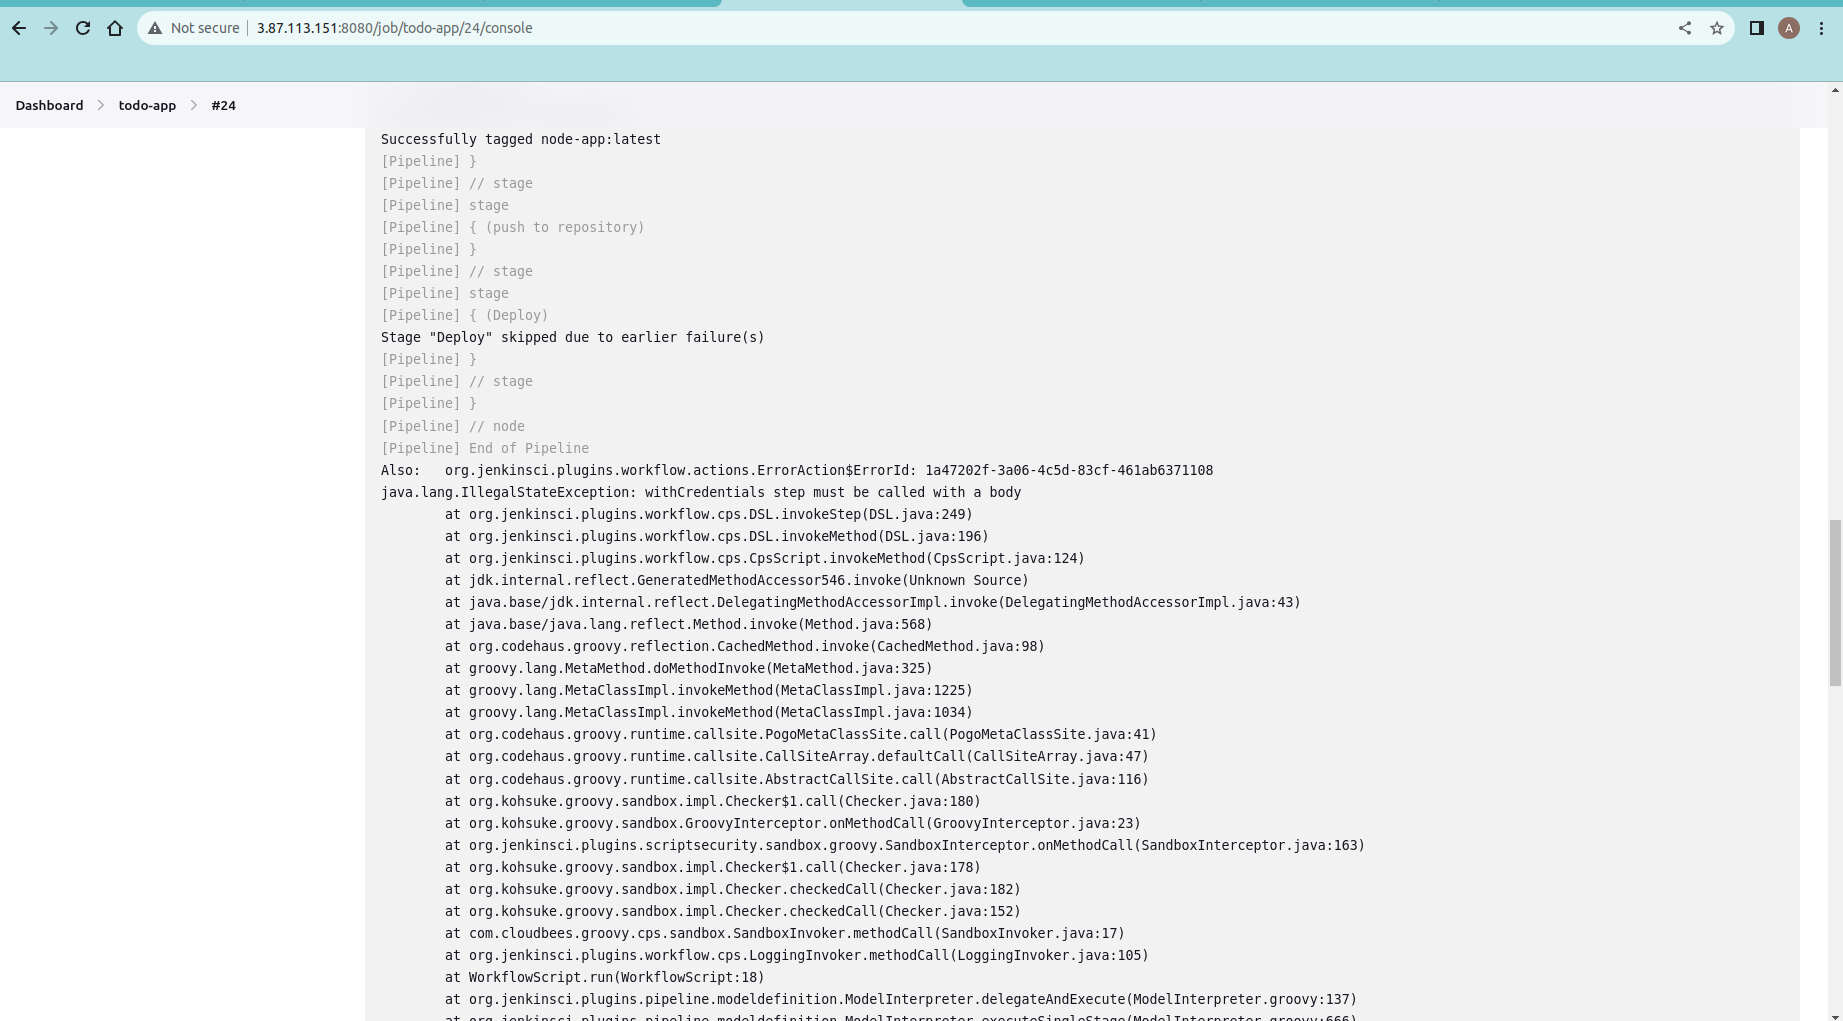
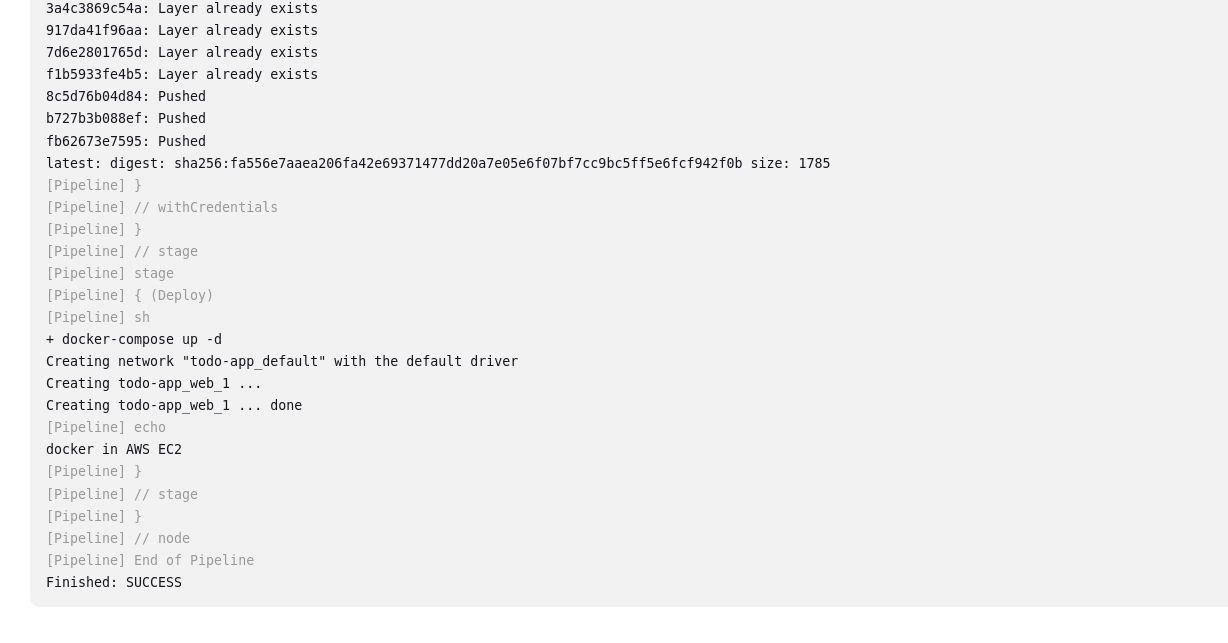
console output:
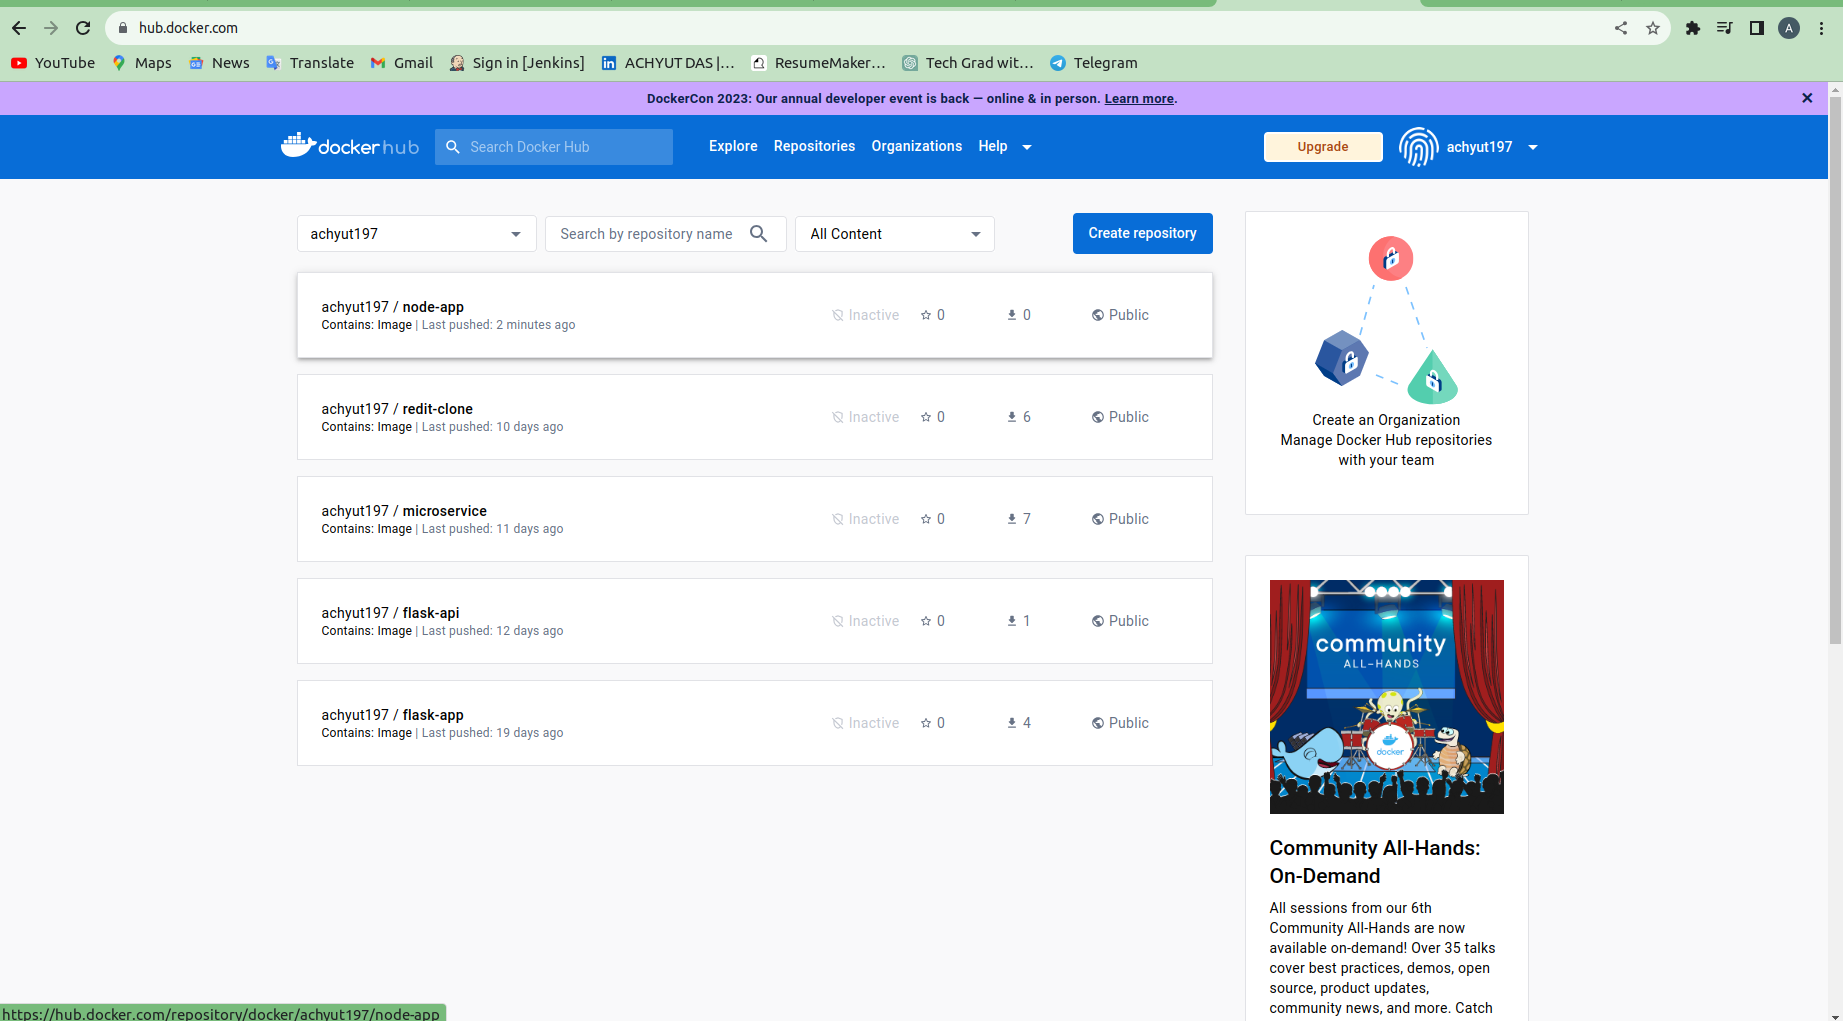
dockerHub:
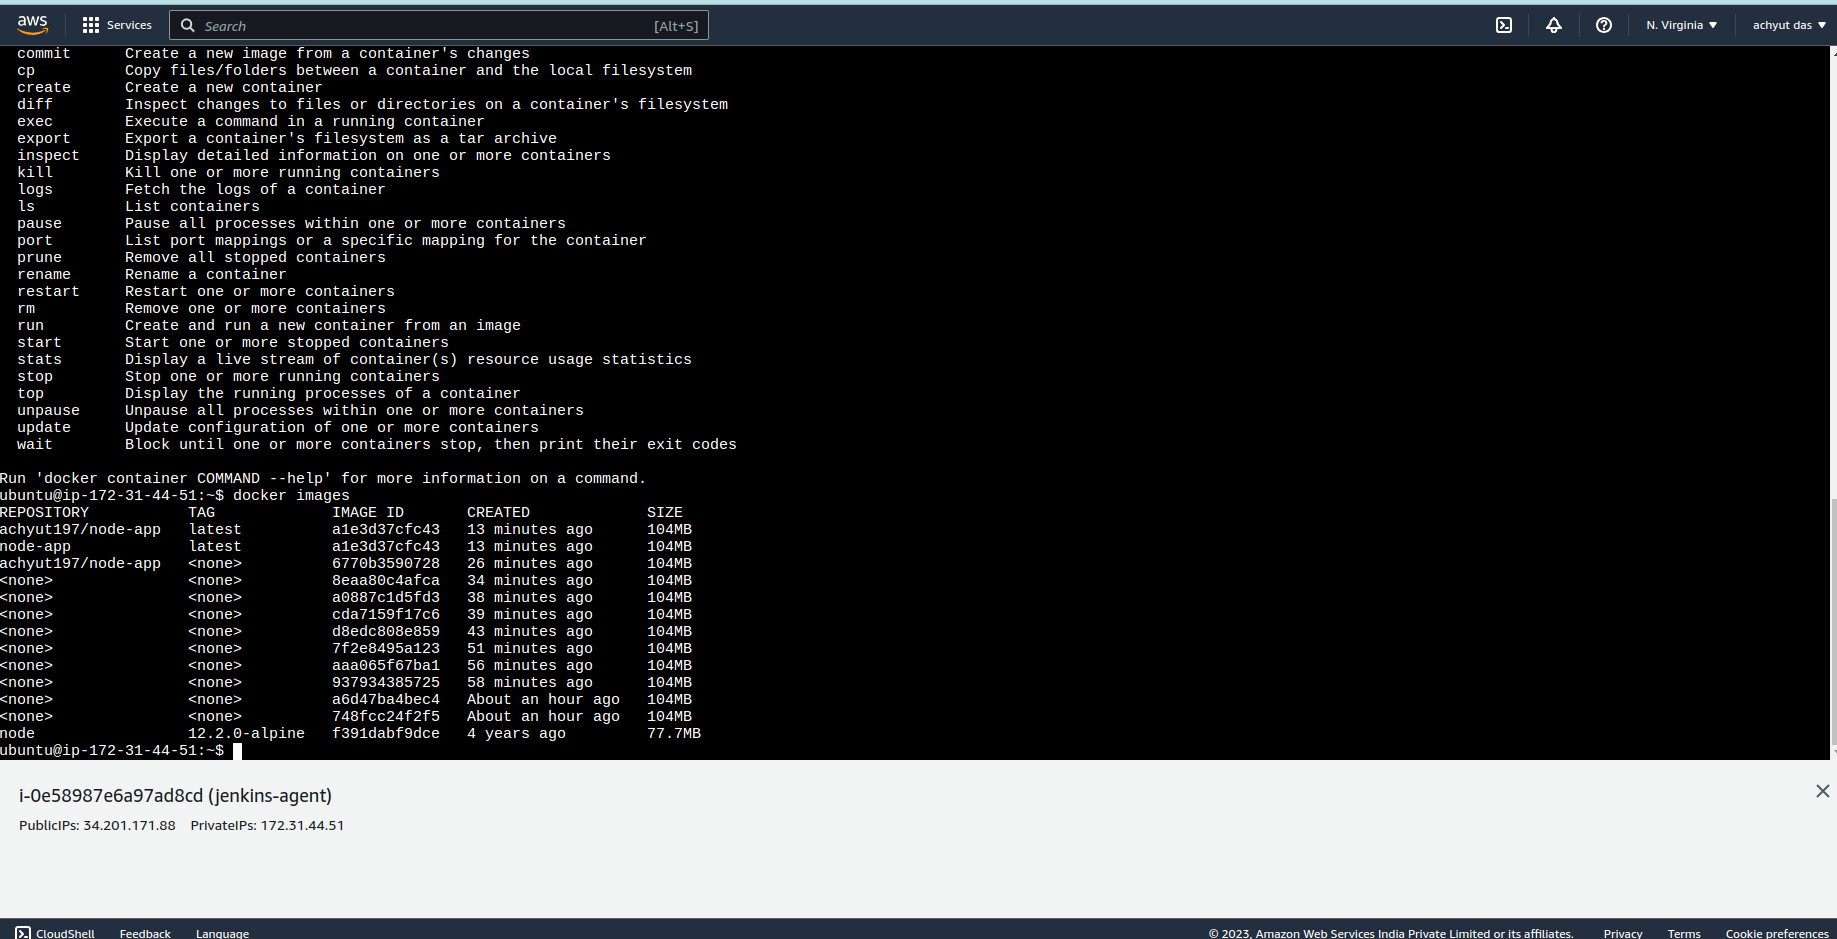
you can check jenkins-agent by using this docker-command-:
docker images
Step 5: then go to "jenkins-agent" instance click on security-group ->edit inbound rule-> add port as 8000 with anywhere ipv4 access and save rule .